
I’ll never forget the disaster of my first dinner party attempt. There I was, a 28-year-old former firefighter trying to impress my new neighbors with what I thought was a simple gordon ramsay caramelized onion dip. What should have been golden, jammy perfection turned into a bowl of burnt onion disappointment that had everyone reaching for the store-bought salsa instead. That humbling failure taught me everything I know about proper caramelization technique today.
The truth about mastering gordon ramsay caramelized onion dip isn’t just following a recipe—it’s understanding the science behind transforming sharp, pungent onions into sweet, complex flavor bombs that elevate any gathering from ordinary to unforgettable.
Why This Gordon Ramsay Caramelized Onion Dip Works (And Where Most Go Wrong)
Creating authentic gordon ramsay caramelized onion dip requires patience and proper technique, something most home cooks completely underestimate. The biggest mistake I see repeatedly is rushing the caramelization process. Those “quick caramelized onions in 15 minutes” promises floating around the internet? Complete rubbish.
True caramelization is a chemical process called the Maillard reaction, where the natural sugars in onions break down and develop those deep, complex flavors we crave. This transformation requires time—at least 35-45 minutes of slow, steady cooking. When you try to rush it with high heat, you end up with burnt onions that taste bitter instead of sweet.
The second critical error is using the wrong type of onions. Yellow onions are your best friend here because they have the perfect balance of sulfur compounds and natural sugars. Sweet onions might seem logical, but they lack the depth that develops during proper caramelization. Red onions? Too sharp and they don’t break down properly.
Temperature control separates amateur cooks from pros. Start your onions over medium-low heat and resist every urge to crank it up. The USDA food safety guidelines emphasize controlled cooking temperatures for optimal results, and this principle applies perfectly to caramelization. Just like when perfecting Gordon Ramsay garlic bread, patience with temperature control makes all the difference.
Ingredients That Actually Matter
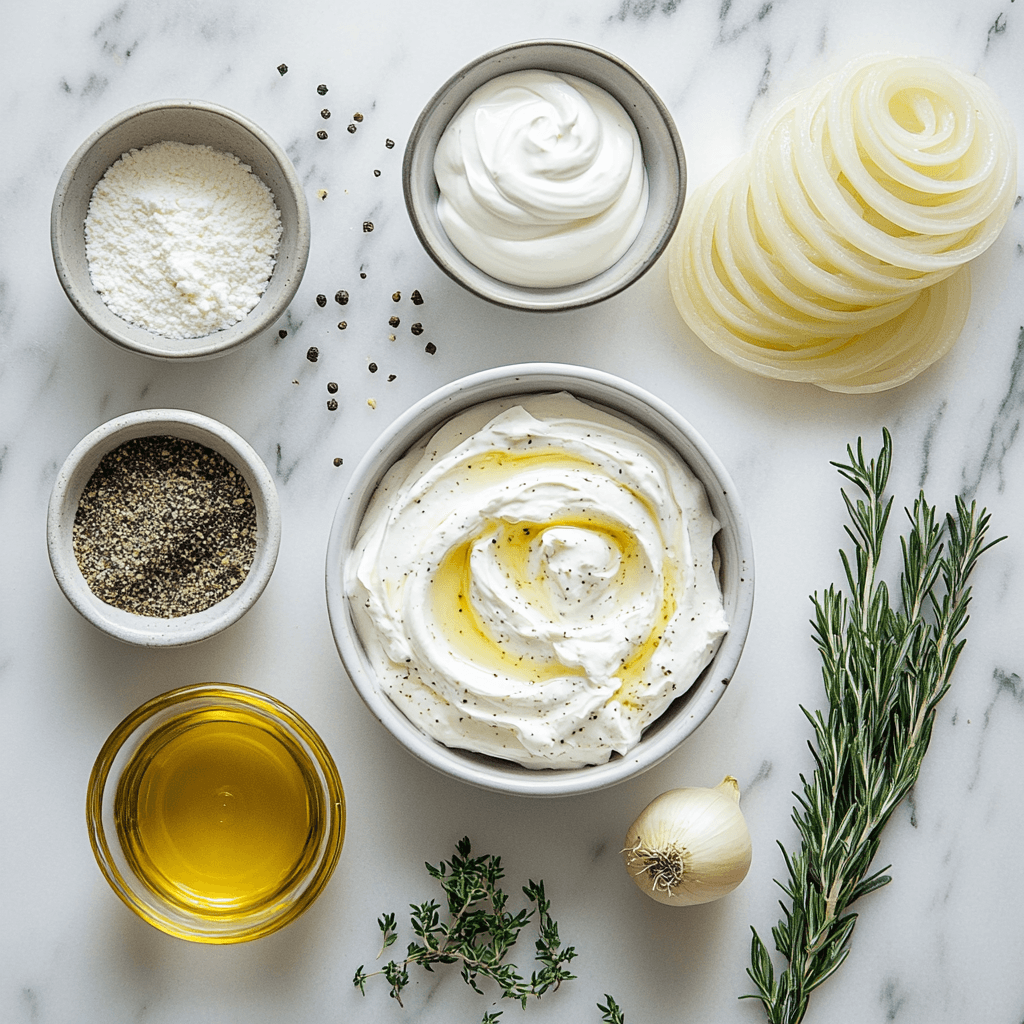
Not all ingredients are created equal, and this gordon ramsay caramelized onion dip proves that point dramatically. Let’s break down why each component earns its place:
The Onions: Four large yellow onions provide the foundation. They’ll cook down significantly—what starts as a massive pile becomes about one cup of golden goodness. The key is slicing them uniformly thin, about 1/8-inch thick. Thicker slices won’t caramelize evenly, while thinner ones can burn before developing proper flavor.
Fat Combination: The olive oil and butter partnership isn’t just for flavor—it’s functional. Olive oil has a higher smoke point, protecting the butter from burning during the long cooking process. The butter adds richness and helps achieve that gorgeous golden color we’re after.
Dairy Base: Full-fat sour cream and cream cheese create the perfect creamy foundation. Low-fat versions will give you a watery, disappointing dip that separates when chilled. Don’t skimp here—the fat content is what makes this dip luxuriously smooth.
Flavor Enhancers: Worcestershire sauce adds umami depth that makes people wonder what your secret ingredient is. Fresh chives provide a gentle onion brightness that complements the caramelized sweetness perfectly. Garlic powder (not fresh garlic) blends seamlessly without overpowering the delicate onion flavor. Speaking of garlic enhancement, if you’re looking for ways to elevate store-bought ingredients, check out how to doctor up frozen garlic bread for similar transformation techniques.
When shopping, look for onions that feel heavy for their size with tight, papery skins. Avoid any with soft spots or green shoots—these signs indicate the onions are past their prime and won’t caramelize properly.
Step-By-Step Instructions
Step 1: Prep Your Onions (10 minutes) Slice your onions from pole to pole—with the grain, not against it. This technique helps them hold their shape during the long cooking process. Aim for consistent 1/8-inch slices. Inconsistent sizing means uneven cooking.
Step 2: Start the Caramelization (5 minutes) Heat olive oil and butter in your heaviest skillet over medium-low heat. Add the sliced onions and salt, stirring to coat every piece. The salt helps draw out moisture, jump-starting the caramelization process.
Critical Warning: Never walk away during the first 15 minutes. Onions can go from perfect to burnt in less than two minutes if your heat is too high.
Step 3: The Long Cook (35-45 minutes) Here’s where patience pays off. Stir your onions every 5-7 minutes, scraping up any golden bits that stick to the pan—that’s pure flavor gold. The onions will go through distinct stages: raw and white, softened and translucent, golden yellow, and finally deep amber brown.
Critical Warning: If onions start sticking aggressively or developing dark spots, lower your heat immediately. Better to take longer than ruin the entire batch.
Step 4: Cool Completely (15 minutes) Remove onions from heat and let them cool to room temperature. Hot onions will melt your dairy base and create a separated mess.
Step 5: Build the Dip (5 minutes) Combine room-temperature sour cream and softened cream cheese in a large bowl. Fold in the cooled caramelized onions, then add remaining seasonings. Mix gently—overmixing can make the dip grainy.
Step 6: Chill and Develop (2+ hours) Refrigerate your finished dip for at least 2 hours. This resting time allows flavors to meld and develop complexity. For best results, make it a day ahead.
Pro-Tips That Change the Game
- Use a wooden spoon exclusively – Metal spoons can react with the onions and create off-flavors during the long cooking process
- Add a splash of balsamic vinegar during the last 5 minutes of caramelization to enhance the sweet-savory balance
- Double the onion batch and freeze half for future dips—properly caramelized onions freeze beautifully for up to 3 months
- Scrape the pan fond religiously – those brown bits stuck to the bottom are concentrated flavor bombs that elevate your entire dip
- Test doneness by taste, not color – properly caramelized onions should taste sweet with no sharp bite remaining
- Room temperature serving is crucial – cold dip mutes all those beautiful flavors you worked so hard to develop
- Garnish strategically – fresh chives, a drizzle of good olive oil, or even crispy fried onions add textural interest and visual appeal
- Pair with quality accompaniments – just like choosing what to serve with garlic bread, your dip deserves premium crackers, artisanal chips, or fresh vegetables
Storage & Leftovers Guidance
Your Gordon Ramsay caramelized onion dip will keep in the refrigerator for up to 5 days when stored in an airtight container. The flavors actually improve after the first day as everything melds together beautifully.
For longer storage, you can freeze the caramelized onions separately for up to 3 months, but don’t freeze the completed dip—the dairy base will separate and become grainy when thawed.
When serving leftovers, always bring the dip to room temperature for about 30 minutes before guests arrive. Cold dip tastes muted and uninspiring compared to room temperature, where all those complex flavors can shine.
If your dip seems too thick after storage, fold in a tablespoon of sour cream to restore the perfect consistency. Never add liquid—it will make the dip watery and disappointing.
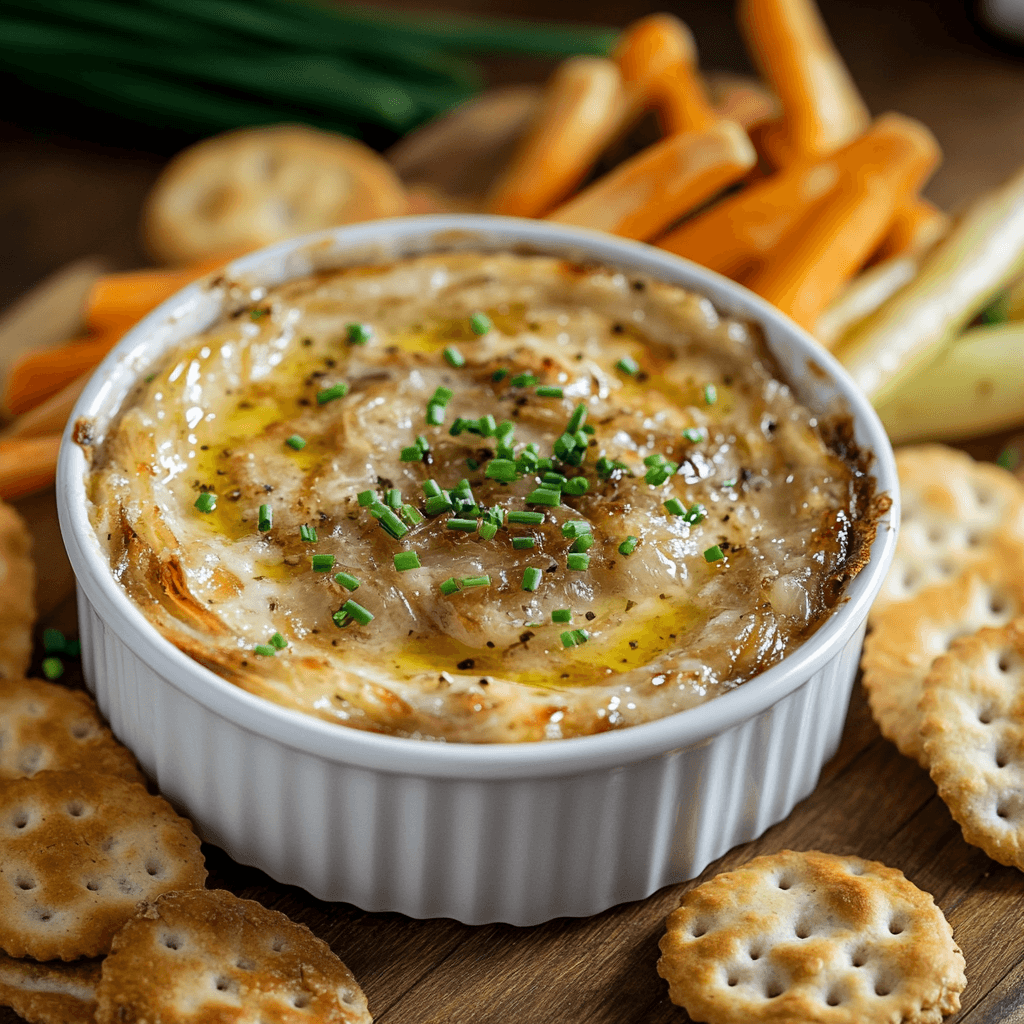
Gordon Ramsay Caramelized Onion Dip
Ingredients
Equipment
Method
- Heat olive oil and butter in large skillet over medium-low heat
- Add sliced onions and salt, stir to coat evenly
- Cook onions for 35-45 minutes, stirring every 5 minutes until deep golden
- Remove from heat and cool completely
- Combine sour cream and cream cheese in large bowl
- Fold in cooled caramelized onions
- Add chives, Worcestershire, garlic powder, and pepper
- Mix until well combined
- Refrigerate for at least 2 hours before serving
- Garnish with additional chives before serving
Nutrition
Notes
Onions should be deep golden brown, not burnt
Can be made 2 days ahead
Store covered in refrigerator for up to 5 days
Bring to room temperature before serving for best flavor
Tried this recipe?
Let us know how it was!Comprehensive FAQ Section
How does Gordon Ramsay caramelize onions?
Gordon Ramsay’s technique emphasizes patience and proper temperature control. He uses medium-low heat, combines oil and butter for optimal fat balance, and cooks onions for 45+ minutes until they’re deeply golden and sweet. The key is never rushing the process and stirring consistently to prevent burning.
What is the trick to caramelizing onions?
The real trick is time and temperature control. Cook onions over medium-low heat for at least 35-45 minutes, stirring every 5-7 minutes. Salt them early to draw out moisture, and scrape up the fond (brown bits) that develop on the pan bottom—that’s pure concentrated flavor.
Is French onion dip the same as caramelized onion dip?
Traditional French onion dip uses dried onion soup mix for convenience, while true caramelized onion dip features fresh onions slowly cooked until golden and sweet. The flavor difference is dramatic—caramelized versions offer complex, developed flavors that packet mixes simply cannot match.
How long does gordon ramsay caramelized onion dip last in the fridge?
Properly stored gordon ramsay caramelized onion dip will keep for up to 5 days in the refrigerator. Store it in an airtight container and always use clean utensils when serving to prevent contamination. The flavors actually improve after 24 hours of resting.
What chips are good for gordon ramsay caramelized onion dip?
Sturdy options work best: thick-cut kettle chips, pita chips, or artisanal crackers. Avoid thin, delicate chips that break under the dip’s weight. Vegetable options like bell pepper strips, cucumber rounds, and endive leaves provide fresh contrast to the rich, creamy dip. For more pairing ideas, our guide on the best store-bought garlic bread test shows similar principles for choosing quality accompaniments.
Is it better to caramelize onions in butter or oil?
The optimal approach combines both: olive oil provides a higher smoke point preventing burning, while butter adds richness and helps achieve that beautiful golden color. Using oil alone works but sacrifices flavor; butter alone risks burning during the long cooking process.
Stay safe, Jack Sullivan

