Table of Contents
Gordon Ramsay Saute Potatoes represent the perfect marriage of technique and simplicity that separates restaurant kitchens from home cooking disasters. After 15 years fighting fires and another decade perfecting my culinary skills, I’ve learned that the difference between soggy disappointment and crispy perfection often comes down to understanding heat control and proper preparation. The USDA emphasizes proper food handling when working with potatoes, but they don’t tell you about the professional secrets that make Gordon Ramsay’s technique so consistently brilliant. This recipe cuts through the confusion with precise steps that guarantee restaurant-quality results, just like his famous fondant potatoes that have become legendary among home cooks.
Why This Gordon Ramsay Saute Potatoes Recipe Works (And Where Most Go Wrong)
The brilliance of Gordon Ramsay Saute Potatoes lies in three fundamental principles that most home cooks completely ignore. First, proper potato selection and preparation creates the foundation for success – waxy potatoes like Yukon Gold hold their shape better than russets, which tend to fall apart during the sautéing process. Second, temperature control prevents the common mistake of throwing cold potatoes into screaming hot oil, which creates steam and ruins the crispy exterior we’re after.
Most people fail because they skip the crucial parboiling step, trying to cook raw potatoes directly in the pan. This leads to burnt exteriors and raw centers, or worse – mushy potatoes that disintegrate before they develop any color. Professional kitchens understand that proper starch development through controlled cooking creates the ideal texture contrast between crispy outside and fluffy interior.
The Three-Stage Cooking Process
Gordon Ramsay’s method uses parboiling, proper drying, and controlled sautéing to achieve consistent results every single time, eliminating the guesswork that ruins so many home attempts.
Ingredients That Actually Matter for Gordon Ramsay Saute Potatoes
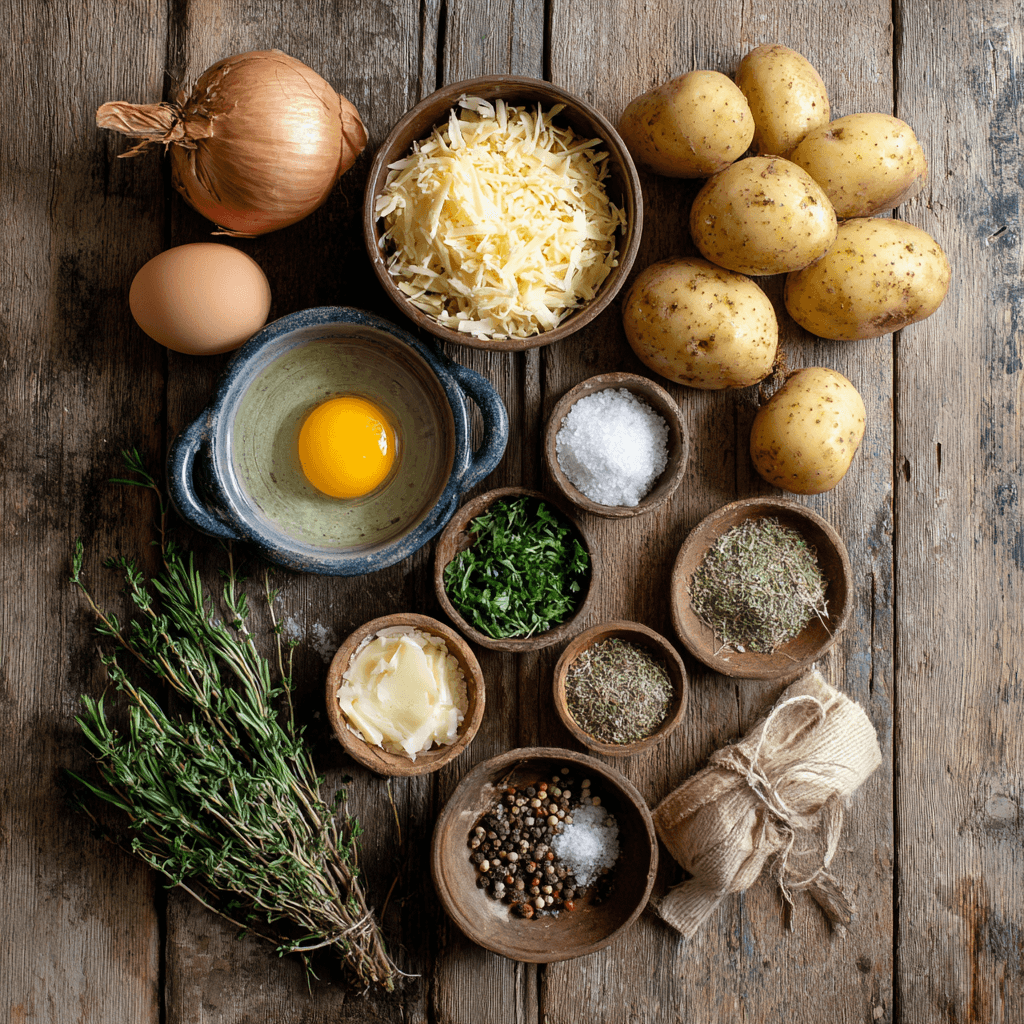
Quality ingredients make the difference between amateur and professional results with Gordon Ramsay Saute Potatoes. Medium-sized Yukon Gold potatoes work best because their moderate starch content provides structure without becoming gluey, while their thin skins develop beautiful color during sautéing. Look for potatoes that feel firm with no soft spots, green patches, or sprouting eyes – these imperfections affect both flavor and cooking performance.
Fresh thyme and rosemary elevate the dish beyond basic seasoned potatoes, but dried herbs work if you reduce the quantities by half. Extra virgin olive oil provides flavor, while a touch of butter at the end creates restaurant-style richness and helps herbs adhere to the potato surfaces. Sea salt draws out moisture during the initial preparation, while fresh cracked black pepper adds the finishing touch.
Garlic cloves should be fresh and firm – avoid pre-minced versions that lack the aromatic oils essential for proper flavor development. The key is having everything measured and ready before you start cooking, because timing matters critically in this technique. Consider pairing these with Gordon Ramsay’s herb butter for an extra layer of professional flavor.
Step-by-Step Instructions for Gordon Ramsay Saute Potatoes
Preparation Phase
Start by washing 2 pounds of medium Yukon Gold potatoes under cold running water, scrubbing away any dirt but leaving the skins intact. Cut potatoes into uniform 1-inch pieces – consistency matters for even cooking. **Safety warning: Use a sharp knife and keep fingertips curled under to avoid accidents with wet, slippery potatoes.** Place cut potatoes in a large pot and cover with cold salted water by 2 inches.
Parboiling Process
Bring the pot to a rolling boil over high heat, then reduce to medium-high and cook for 8-10 minutes until fork-tender but still holding their shape. **Critical safety point: Never leave boiling water unattended and keep pot handles turned inward to prevent accidents.** Drain potatoes in a colander and let them steam-dry for 5 minutes – this step removes excess moisture that would prevent proper browning.
Sautéing Technique
Heat 3 tablespoons olive oil in a large, heavy-bottomed skillet over medium-high heat until shimmering but not smoking. **Temperature control is crucial: oil should sizzle when potatoes hit the pan but not violently sputter.** Add dried potatoes in a single layer, leaving space between pieces. Don’t move them for 4-5 minutes – this allows proper crust formation.
Add 4 smashed garlic cloves, 2 sprigs fresh thyme, and 1 sprig fresh rosemary to the pan. Season with salt and pepper, then continue cooking while gently turning potatoes every 3-4 minutes to ensure even browning on all sides. The entire sautéing process takes 12-15 minutes for perfect golden-brown Gordon Ramsay Saute Potatoes. Finish with 2 tablespoons butter and fresh herbs for restaurant-quality results. Learn more about professional sautéing techniques to master this fundamental cooking method.
Pro-Tips That Change the Game
- Pat potatoes completely dry after parboiling – any remaining moisture creates steam that prevents proper crisping
- Use a heavy-bottomed stainless steel or cast iron pan for even heat distribution that prevents hot spots
- Resist the urge to move potatoes too frequently – let them develop color before turning for maximum crispiness
- Add garlic and herbs midway through cooking to prevent burning while still infusing maximum flavor
- Save the butter for the final minute of cooking to prevent it from burning and turning bitter
- Keep the pan moving with gentle shakes rather than aggressive stirring to maintain potato shape
Storage & Leftovers for Gordon Ramsay Saute Potatoes
Store leftover Gordon Ramsay Saute Potatoes in the refrigerator for up to 3 days in an airtight container. The key to successful reheating lies in restoring crispiness – avoid the microwave which creates soggy results. Instead, reheat in a 400°F oven for 8-10 minutes, or better yet, re-crisp them in a hot skillet with a touch of oil for 3-4 minutes per side.
For food safety, ensure potatoes cool to room temperature within 2 hours of cooking before refrigerating. The FDA recommends keeping cooked potatoes at 40°F or below to prevent bacterial growth. Never leave cooked potatoes at room temperature for extended periods, especially in warm weather.
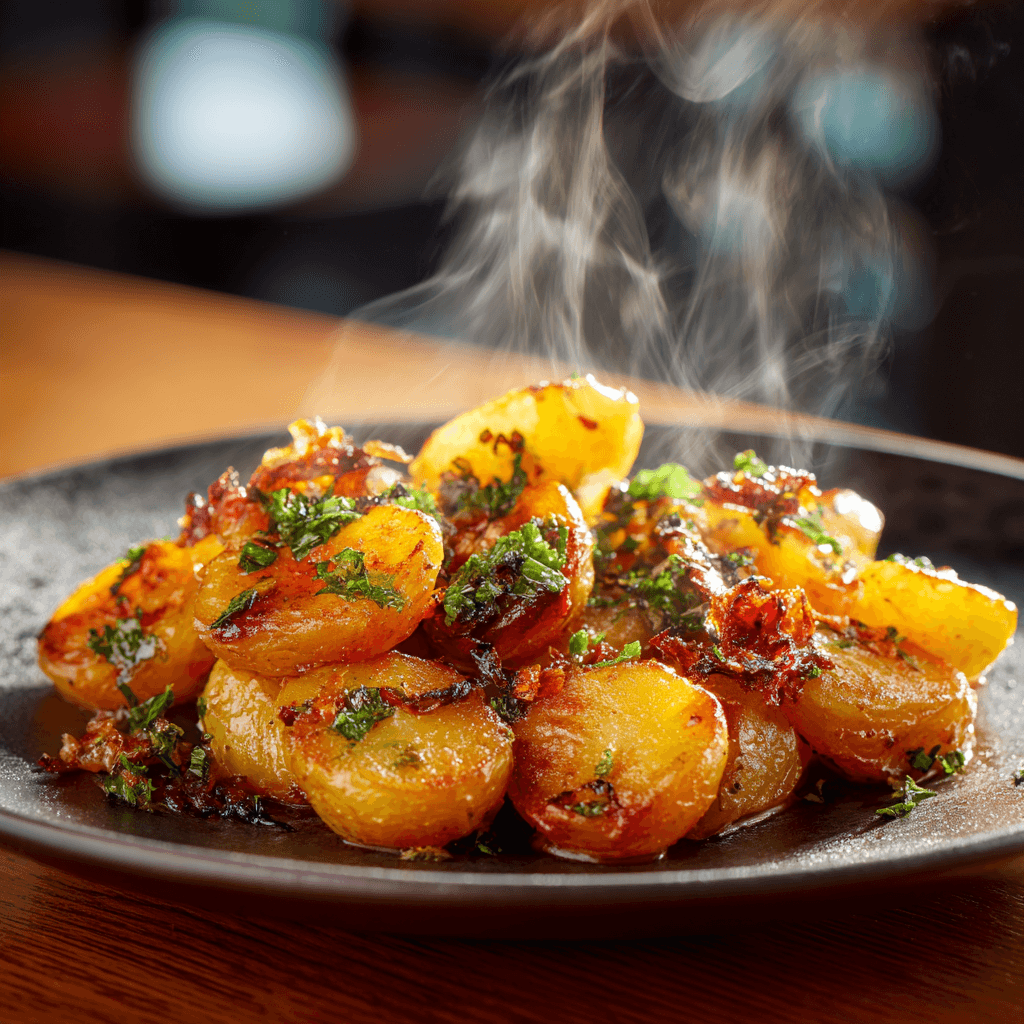
Gordon Ramsay Saute Potatoes
Ingredients
Equipment
Method
- 1️⃣ Wash 2 pounds of medium Yukon Gold potatoes under cold running water, scrubbing away dirt but leaving skins intact. Cut potatoes into uniform 1-inch pieces for even cooking.
- 2️⃣ Place cut potatoes in a large pot and cover with cold salted water by 2 inches. Bring to a rolling boil over high heat.
- 3️⃣ Reduce heat to medium-high and cook for 8-10 minutes until fork-tender but still holding their shape. Drain potatoes in a colander.
- 4️⃣ Let potatoes steam-dry for 5 minutes to remove excess moisture that would prevent proper browning. Pat completely dry if needed.
- 5️⃣ Heat 3 tablespoons olive oil in a large, heavy-bottomed skillet over medium-high heat until shimmering but not smoking.
- 6️⃣ Add dried potatoes in a single layer, leaving space between pieces. Don’t move them for 4-5 minutes to allow proper crust formation.
- 7️⃣ Add smashed garlic cloves, thyme, and rosemary to the pan. Season with salt and pepper.
- 8️⃣ Continue cooking while gently turning potatoes every 3-4 minutes to ensure even browning on all sides for 12-15 minutes total.
- 9️⃣ Finish with 2 tablespoons butter and fresh herbs in the final minute of cooking for restaurant-quality Gordon Ramsay Saute Potatoes.
Nutrition
Notes
Tried this recipe?
Let us know how it was!Frequently Asked Questions About Gordon Ramsay Saute Potatoes
How to cook potatoes Gordon Ramsay style?
Gordon Ramsay’s method involves parboiling cut potatoes until just tender, steam-drying them thoroughly, then sautéing in hot oil with herbs and garlic. The key is proper temperature control and not moving the potatoes too frequently, allowing each side to develop a golden crust before turning.
How to make the perfect sautéed potatoes?
Perfect sautéed potatoes require three essential steps: uniform cutting for even cooking, proper parboiling to achieve the right texture, and controlled sautéing with adequate oil and proper heat management. Gordon Ramsay Saute Potatoes demonstrate these principles with restaurant-quality results every time.
How to know when potatoes are done sautéing?
Properly sautéed potatoes should be golden brown on all sides with a crispy exterior and tender interior. They should sound crisp when tapped with a spatula and easily release from the pan when properly browned. Internal temperature should reach 210°F for optimal texture.
How does Gordon Ramsay make fried potatoes?
Gordon Ramsay’s technique combines elements of both sautéing and shallow frying, using enough oil to create proper browning while maintaining control over texture. His Gordon Ramsay Saute Potatoes method emphasizes proper preparation, temperature control, and finishing with fresh herbs and butter for professional results.
Mastering Gordon Ramsay Saute Potatoes transforms your cooking confidence and proves that restaurant-quality results are absolutely achievable at home when you understand proper technique and timing.
Stay safe,
Jack Sullivan