Gordon Ramsay asparagus soup changed everything for me during my firefighting days. After a brutal 24-hour shift fighting a warehouse fire, I stumbled into a small bistro where the chef served me the most vibrant, silky asparagus soup I’d ever tasted. Years later, I discovered it was based on Ramsay’s technique—and now it’s become my go-to comfort food whenever I need something that feels like a warm hug in a bowl.
The magic isn’t just in the ingredients; it’s in understanding how Gordon Ramsay transforms simple asparagus into liquid gold. According to the USDA’s nutritional data, asparagus provides exceptional folate and vitamin K content, making this soup both delicious and incredibly nutritious. But what makes Gordon’s version special is his restaurant-trained approach to building layers of flavor that most home cooks miss entirely.
Ingredients That Actually Matter for Gordon Ramsay Asparagus Soup
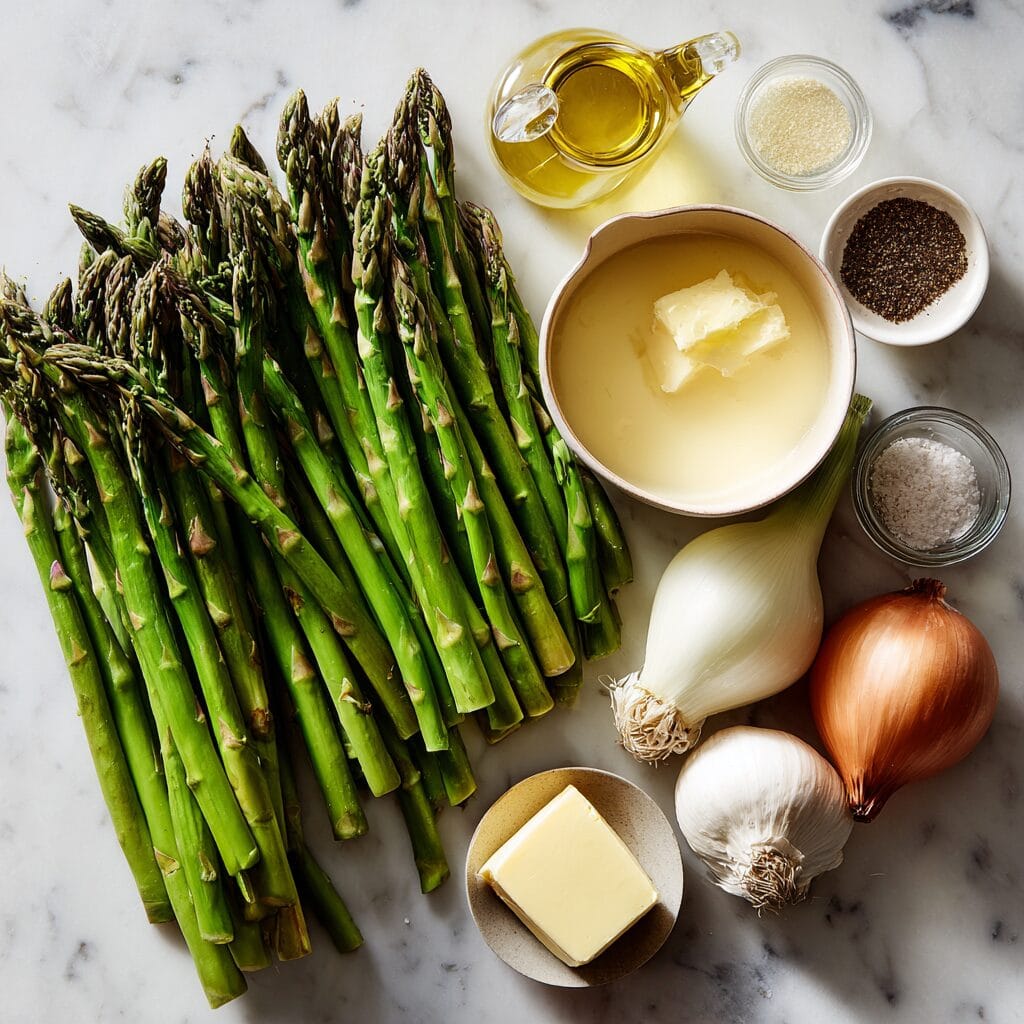
The secret to Gordon Ramsay’s asparagus soup lies in three critical ingredient choices that most recipes get wrong. First, thick asparagus spears are non-negotiable—thin spears lack the robust flavor needed for a restaurant-quality soup. Second, shallots instead of onions provide a sweeter, more refined base that won’t overpower the delicate asparagus. Finally, using high-quality vegetable stock rather than water creates depth that elevates this from ordinary to extraordinary. Skip the shortcuts here, and you’ll taste the difference immediately.
What sets Gordon’s method apart is his treatment of asparagus tips as both ingredient and garnish. While most recipes throw everything into the pot, Gordon reserves the tips for blanching separately, creating textural contrast that transforms each spoonful. This technique, combined with his precise cream-to-stock ratio, produces the signature restaurant presentation that makes this soup truly special.
The first time I attempted Gordon Ramsay asparagus soup in my own kitchen, I made every mistake possible. I used thin asparagus (disaster), yellow onions instead of shallots (muddy flavor), and dumped the cream in while the soup was boiling (curdled mess). After studying his technique and practicing the method dozens of times, I learned that success comes from respecting each ingredient’s role in the final harmony.
Gordon’s approach to seasoning deserves special mention. White pepper maintains the soup’s vibrant green color while providing heat, and the finishing touch of lemon juice brightens the entire bowl without overwhelming the delicate asparagus flavor. These aren’t random additions—they’re calculated moves that demonstrate why Gordon Ramsay asparagus soup consistently delivers restaurant-quality results at home.
How Gordon Ramsay Cooks His Asparagus for Maximum Flavor
Gordon Ramsay’s asparagus cooking technique focuses on preserving the vegetable’s natural sweetness while building complexity through proper sautéing. He starts by briefly cooking the asparagus stalks with aromatics before adding liquid, which develops deeper flavors than simply boiling everything together. This initial sautéing step caramelizes the cut surfaces slightly, creating a foundation of flavor that carries through the entire soup.
The timing is crucial—Gordon cooks the asparagus just until tender, never mushy. Overcooking destroys the bright, grassy notes that make asparagus soup special. Professional kitchens test doneness by piercing with a knife; when it slides through easily but meets slight resistance, the asparagus is perfect. This technique, which I learned from studying his methods, ensures Gordon Ramsay asparagus soup maintains its signature vibrant flavor.
His blanching method for the garnish tips is equally precise. Two minutes in rapidly boiling salted water, followed immediately by an ice bath, preserves both color and texture. This shock-cooling technique, standard in professional kitchens, prevents overcooking while maintaining the tips’ bright green appearance. When you serve this Gordon Ramsay leek and potato soup alongside the asparagus version, the visual contrast is stunning.
The Professional Blending Technique That Changes Everything
Gordon’s blending method separates amateur from professional results. Using an immersion blender directly in the pot prevents dangerous transfers of hot liquid while maintaining better temperature control. The key is multiple short pulses rather than continuous blending, which prevents the soup from becoming gluey or losing its silky texture.
For ultra-smooth results, Gordon often strains the blended soup through a fine mesh strainer. This extra step removes any fibrous bits that escaped the blending, creating the restaurant-quality smoothness that defines professional asparagus soup. While optional for home cooks, this technique elevates Gordon Ramsay asparagus soup from good to extraordinary.
The cream incorporation happens off the heat, preventing curdling that ruins both texture and appearance. Room temperature cream blends more easily than cold, creating that signature velvety mouthfeel without breaking the emulsion. This temperature control, combined with gentle stirring, produces the luxurious consistency that makes restaurant soups memorable.
Professional Storage and Reheating Tips
Proper storage maintains Gordon Ramsay asparagus soup’s quality for up to four days refrigerated. Cool completely before storing, and leave room for expansion in containers. The soup may separate slightly when stored, but gentle reheating with occasional stirring restores its original texture perfectly.
For reheating, use low heat and stir frequently to prevent scorching. If the soup seems too thick after storage, thin with a small amount of warm stock rather than water. This maintains the concentrated flavors that make Gordon’s method superior. According to FDA food safety guidelines, reheated soup should reach 165°F internal temperature for safe consumption.
What Are the Benefits of Asparagus Soup?
Asparagus soup provides exceptional nutritional value alongside its incredible taste. Rich in folate, vitamin K, and antioxidants, this soup supports immune function and bone health. The fiber content aids digestion, while the relatively low calorie count makes it perfect for weight management goals.
The anti-inflammatory properties of asparagus, combined with the soup’s high water content, make it ideal for post-workout recovery or when fighting seasonal allergies. During my firefighting years, I noticed that eating Gordon Ramsay asparagus soup regularly helped me recover faster from physically demanding shifts.
Beyond nutrition, asparagus soup offers comfort and satisfaction that heavier dishes can’t match. The combination of protein from cream, vitamins from vegetables, and complex carbohydrates creates sustained energy without the crashes associated with processed foods. This makes it perfect for busy professionals seeking healthy, satisfying meals.
How Can I Thicken My Asparagus Soup?
If your Gordon Ramsay asparagus soup turns out too thin, several professional techniques can fix the consistency without compromising flavor. The easiest method involves reducing the soup by simmering uncovered, which concentrates flavors while naturally thickening through evaporation.
For immediate thickening, blend a small portion of the soup with additional cooked asparagus pieces, then stir back into the pot. This method maintains the soup’s vegetable base while adding body naturally. Avoid flour or cornstarch, which can muddy the clean, bright flavors that define Gordon’s approach.
Adding extra cream provides richness and thickness, but use sparingly to maintain balance. A tablespoon at a time, whisked in off the heat, gradually builds the desired consistency. Remember, you can always add more, but you can’t take it back—so work slowly for best results.
Frequently Asked Questions
How does Gordon Ramsay cook his asparagus?
Gordon sautés asparagus briefly with aromatics before adding stock, building deeper flavors than boiling alone. He reserves tips for blanching separately as garnish.
How can I thicken my asparagus soup?
Reduce by simmering uncovered, blend additional cooked asparagus into a portion, or gradually whisk in extra cream off heat for natural thickening.
What are the benefits of asparagus soup?
High in folate, vitamin K, and antioxidants while remaining low-calorie. Supports immune function, bone health, and provides anti-inflammatory benefits with excellent fiber content.
How long does asparagus soup last in the fridge?
Gordon Ramsay asparagus soup keeps 3-4 days refrigerated when stored properly. Cool completely before storing and reheat gently with occasional stirring.
This Gordon Ramsay asparagus soup recipe transformed my understanding of what vegetable soups could achieve. The combination of professional techniques with accessible ingredients creates restaurant-quality results that never fail to impress. Whether you’re cooking for family dinner or entertaining guests, this soup delivers the sophisticated flavors that made Gordon’s reputation.
Pair this with Gordon Ramsay’s garlic bread for a complete meal that showcases how simple ingredients, treated with respect and proper technique, create memorable dining experiences. The vibrant green color, silky texture, and complex flavor profile prove that Gordon Ramsay asparagus soup deserves a place in every home cook’s repertoire.
Stay safe,
Jack Sullivan
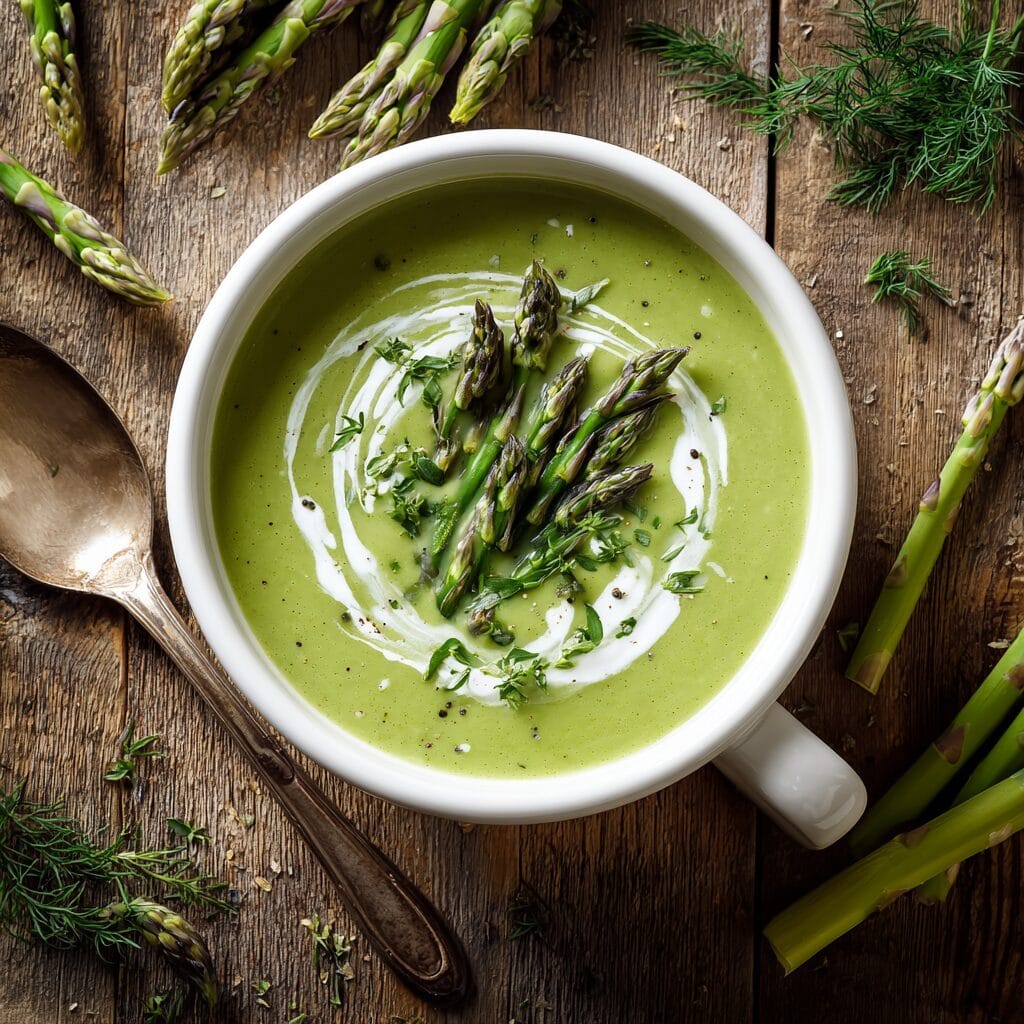
Gordon Ramsay Asparagus Soup
Ingredients
Equipment
Method
- 1️⃣ Cut asparagus into 1-inch pieces, reserving tips for garnish. Blanch tips in boiling water for 2 minutes, then shock in ice water.
- 2️⃣ Heat butter in large pot over medium heat. Add onion and cook until translucent, about 5 minutes. Add garlic and cook 1 minute more.
- 3️⃣ Add asparagus stems to pot and cook for 3 minutes. Pour in vegetable stock and bring to boil. Reduce heat and simmer 15 minutes until asparagus is very tender.
- 4️⃣ Using immersion blender, puree soup until completely smooth. Strain through fine mesh sieve for silky texture. Return to pot over low heat.
- 5️⃣ Stir in heavy cream, lemon juice, salt, and white pepper. Taste and adjust seasoning. Serve hot, garnished with blanched asparagus tips.