Table of Contents
My wife still brings up the time I butchered Gordon Ramsay filet mignon – and honestly, she should. Three years into our marriage, trying to impress her with my “cooking skills,” I confidently declared I’d recreate the Gordon Ramsay signature dishes we’d seen on TV. What followed was an expensive lesson in humility that cost us two premium steaks and nearly our smoke alarm.
The problem wasn’t the ingredients – I’d splurged on beautiful filet mignon cuts. The issue was my firefighter confidence meeting Gordon’s precise technique without proper preparation. After burning the outside while leaving the center cold, then overcooking my second attempt into leather, I realized Gordon Ramsay filet mignon demands respect, timing, and understanding.
How Would Gordon Ramsay Cook a Filet Mignon?
Gordon’s approach to filet mignon centers on three fundamental principles: proper preparation, aggressive searing, and butter basting. His method differs significantly from casual home cooking because it treats the steak like the premium ingredient it deserves to be.
The celebrity chef’s technique starts with bringing steaks to room temperature – never cook cold meat. He then seasons generously, creates an intensely hot pan environment, and most importantly, employs his signature butter basting method that transforms good steak into restaurant-quality perfection.
According to USDA guidelines, proper meat handling and temperature control are essential for both safety and quality when preparing premium cuts like filet mignon.
What Makes a Filet Mignon Special?
Filet mignon comes from the tenderloin, a muscle that does minimal work during the animal’s lifetime. This explains its legendary tenderness but also its subtle flavor profile compared to more robust cuts. The challenge with Gordon Ramsay filet mignon lies in maximizing flavor while preserving that signature texture.
The cut’s low fat content means it can quickly go from perfectly cooked to overcooked disaster. Unlike fattier steaks that forgive timing mistakes, filet mignon punishes imprecision. This is why Gordon’s method emphasizes visual and tactile cues over guesswork.
Ingredients That Actually Matter for Gordon Ramsay Filet Mignon
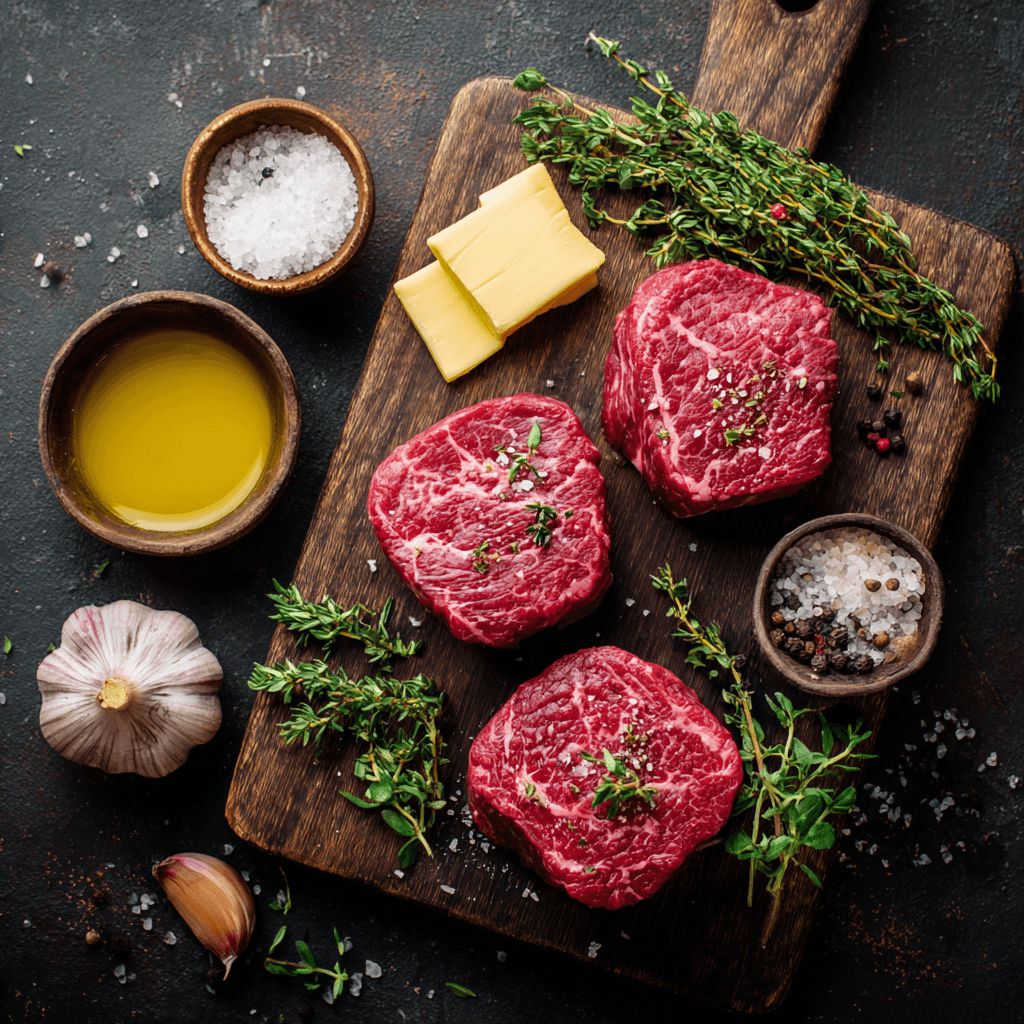
Quality starts with sourcing. Premium filet mignon should be bright red with minimal marbling, firm to touch, and purchased from reputable sources. Room temperature seasoning allows salt to penetrate properly rather than sitting on the surface.
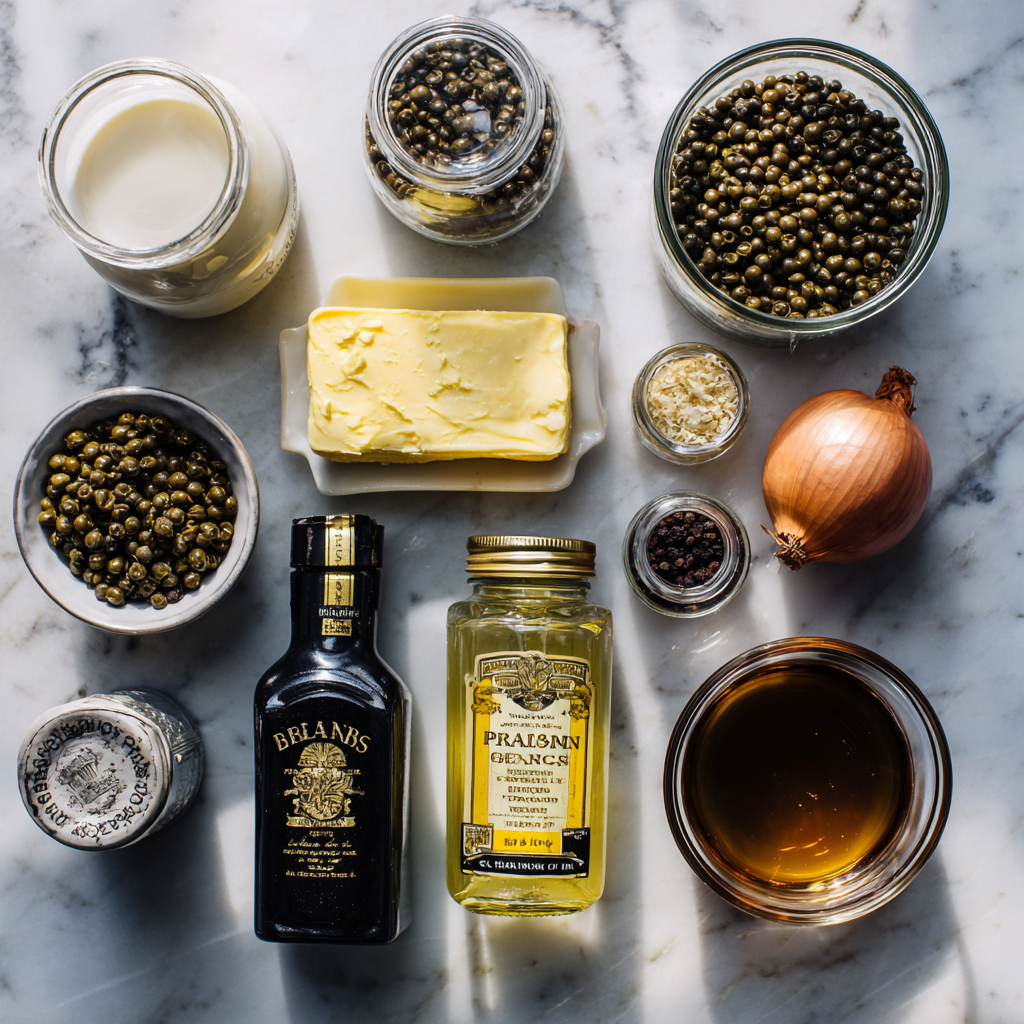
Gordon’s minimal ingredient list reflects the cut’s natural excellence: high-quality olive oil for searing, unsalted butter for basting, fresh thyme and garlic for aromatics, plus coarse sea salt and freshly cracked black pepper. Each ingredient serves a specific purpose in building layers of flavor.
Step-by-Step Gordon Ramsay Filet Mignon Method
Preparation Phase: Remove steaks 30 minutes before cooking, pat completely dry, and season generously. Moisture is the enemy of proper searing, so this drying step cannot be skipped.
Searing Phase: Heat your heaviest pan until smoking. Add olive oil, then steaks, laying away from yourself. The initial sear should be aggressive – this creates the Maillard reaction that develops complex flavors and appealing color.
Flipping and Basting: Flip once after 3-4 minutes, then add butter, thyme, and crushed garlic. Tilt the pan and continuously baste with foaming butter. This technique, borrowed from professional kitchens, ensures even cooking while building incredible flavor.
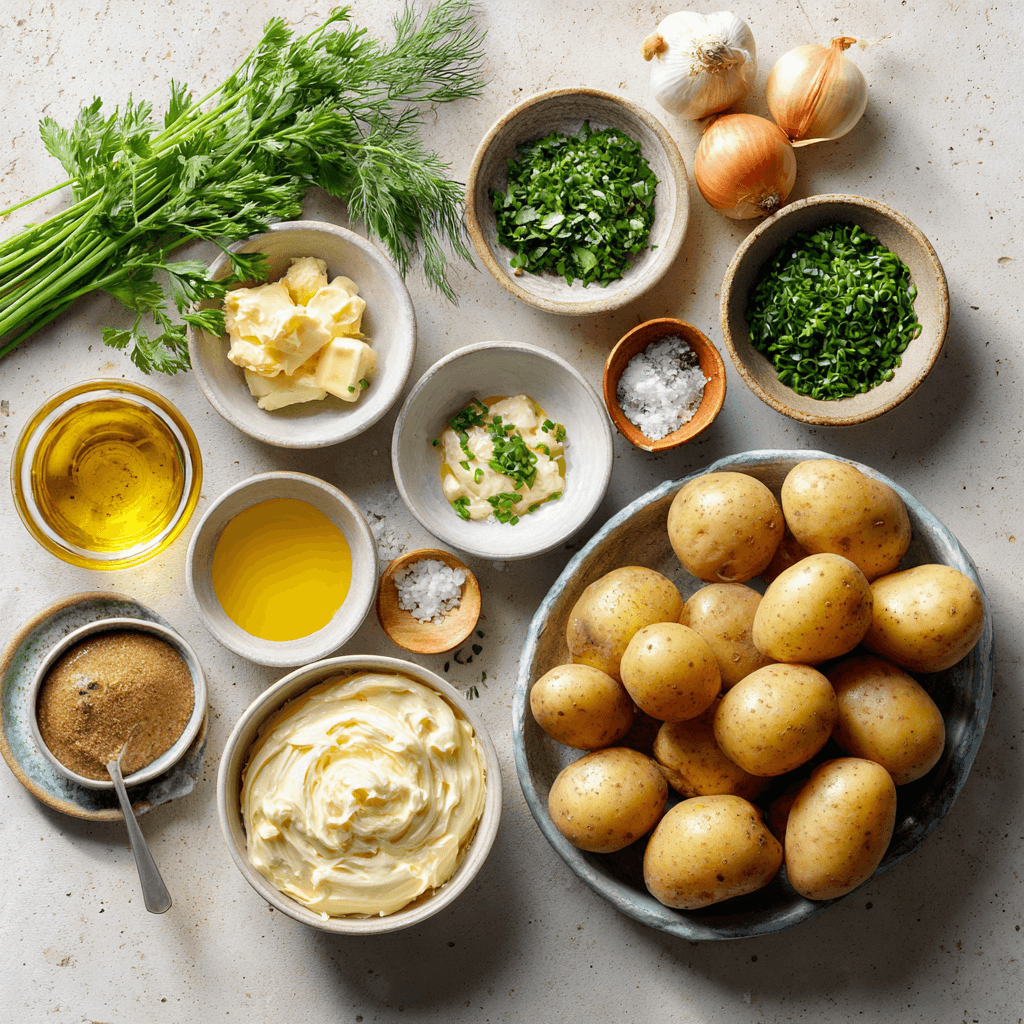
For perfect Gordon Ramsay fondant potatoes as a side dish, the same attention to technique and timing applies.
What is Gordon Ramsay’s Foolproof Method for Determining Doneness?
Gordon uses the finger test combined with visual cues rather than relying solely on thermometers. Press the steak’s center – rare feels like the flesh between your thumb and forefinger when making an “OK” sign, medium-rare feels like that same spot with slight tension.
However, for home cooks learning the technique, a meat thermometer provides backup: 120°F for rare, 130°F for medium-rare. Gordon’s restaurant experience allows him to judge doneness through touch and timing, but building that skill takes practice.
The resting period is non-negotiable. Five minutes allows juices to redistribute, preventing them from running out when cut. This patience separates restaurant-quality results from disappointing home attempts.
Pro Tips From a Reformed Disaster Cook
Temperature management makes or breaks Gordon Ramsay filet mignon. Your pan should be smoking hot before oil hits it. If the steak doesn’t immediately sizzle when it touches the pan, you’re not ready.
Never move the steak during initial searing. Trust the process and resist checking underneath. The proper crust develops through undisturbed contact with hot metal.
Butter basting requires active attention. Keep the pan tilted, spooning continuously. This technique prevents burning while building flavor layers that distinguish Gordon’s method from basic pan-searing.
Storage and Leftovers
Properly cooked filet mignon rarely survives as leftovers, but if you’re planning ahead or have extras, refrigerate within two hours of cooking. Wrapped tightly, it keeps for 3-4 days refrigerated.
Reheating requires gentle methods – low oven heat around 250°F until just warmed through. Microwaving ruins the texture that makes Gordon Ramsay filet mignon special.
For complementary flavors, consider pairing with Gordon Ramsay pepper sauce or serving alongside Gordon Ramsay asparagus risotto for an complete fine dining experience.
Frequently Asked Questions
How long does Gordon Ramsay cook filet mignon?
Total cooking time ranges from 8-12 minutes depending on thickness and desired doneness, with equal time per side plus basting time.
What temperature should filet mignon be cooked to?
Medium-rare (130°F internal temperature) is optimal for filet mignon, preserving tenderness while ensuring food safety.
Can you cook Gordon Ramsay filet mignon in advance?
The technique requires immediate serving for best results. However, you can prep steaks hours ahead by seasoning and bringing to room temperature before the final cooking phase.
After mastering this technique, I finally earned my wife’s forgiveness – and her genuine admiration for a perfectly executed Gordon Ramsay filet mignon. The key lies in respecting both the ingredient and the method, understanding that premium results require premium attention to detail.
Stay safe,
Jack Sullivan
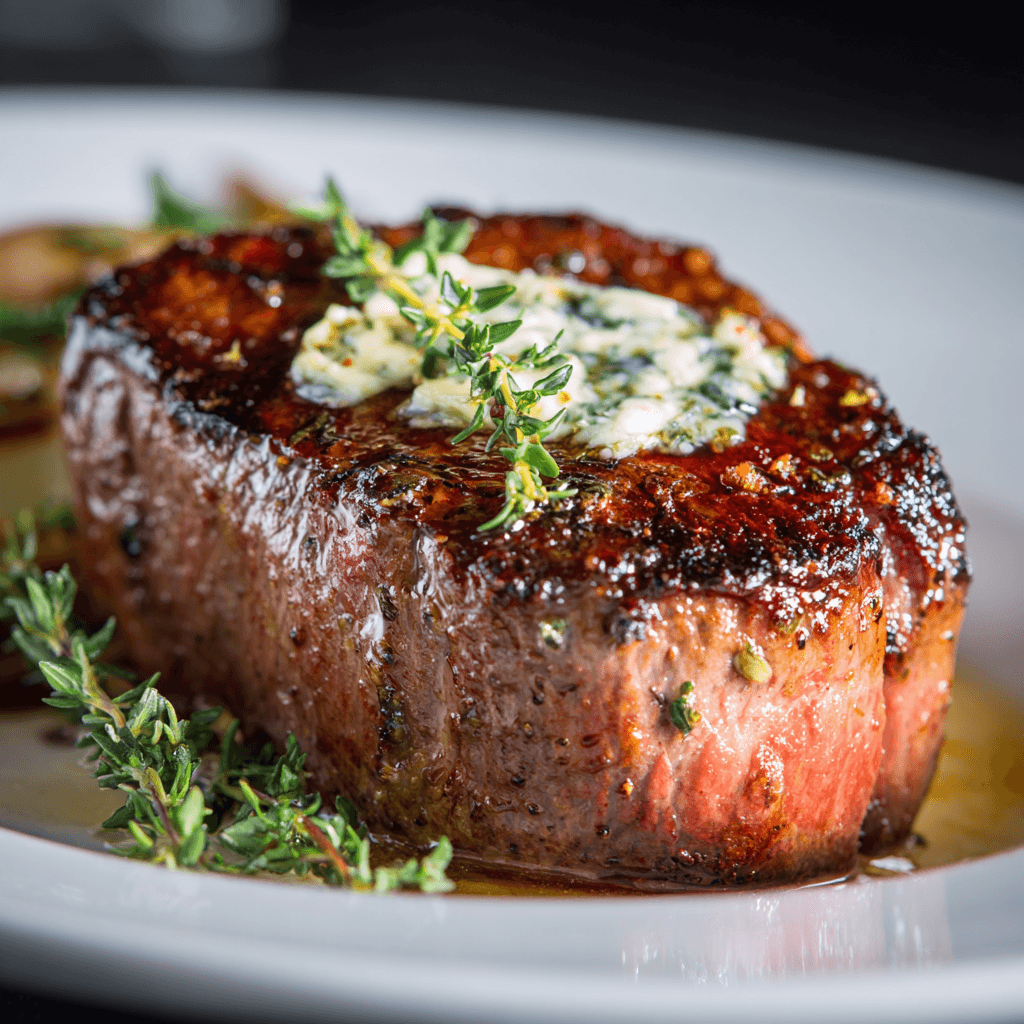
Gordon Ramsay Filet Mignon
Ingredients
Equipment
Method
- 1️⃣ Remove steaks from refrigerator 30 minutes before cooking to bring to room temperature. Pat completely dry with paper towels and season generously with salt and pepper on both sides.
- 2️⃣ Heat heavy-bottomed skillet over medium-high heat until smoking hot. Add olive oil and swirl to coat the pan evenly.
- 3️⃣ Carefully place steaks in the hot pan, laying away from you to avoid splatter. Do not move for 3-4 minutes to develop a golden crust.
- 4️⃣ Flip steaks once and sear the other side for 3-4 minutes. Add butter, thyme, and crushed garlic to the pan.
- 5️⃣ Tilt pan and continuously baste steaks with the foaming butter using a spoon for 2-3 minutes, spooning over the aromatics.
- 6️⃣ Check doneness using Gordon’s finger test or thermometer (120°F rare, 130°F medium-rare). Remove from heat and rest for 5 minutes before serving.


")

")