Table of Contents
Gordon Ramsay Anchovy Dip transforms a controversial ingredient into pure culinary gold, and I learned this lesson the hard way during my firefighting days. Back at the station, our cook would make this incredible appetizer that had everyone coming back for more, despite half the crew claiming they “hated anchovies.” The secret wasn’t hiding the anchovy flavor—it was about understanding how to harness its umami power properly. According to the FDA’s seafood guidelines, when prepared correctly, anchovy-based dips offer exceptional nutritional benefits alongside incredible flavor. This Gordon Ramsay Anchovy Dip recipe captures that same magic I experienced years ago, turning skeptics into believers with every creamy, savory bite. If you’re looking to expand your appetizer repertoire, you might also enjoy these Gordon Ramsay cheese biscuits as a perfect pairing.
Why This Gordon Ramsay Anchovy Dip Recipe Works (And Where Most Go Wrong)
The brilliance of this Gordon Ramsay Anchovy Dip lies in three fundamental principles that most home cooks overlook. First, proper anchovy preparation is crucial—many people dump whole anchovies into their mixture, creating an overwhelming fishy taste instead of a rich, umami foundation. Ramsay’s technique involves creating an anchovy paste that dissolves completely into the base, distributing flavor evenly throughout every bite.
The second principle focuses on temperature control during emulsification. Too many cooks rush this process or work with ingredients that are too cold, resulting in a broken, grainy texture instead of the silky smoothness that makes this dip restaurant-worthy. According to culinary science experts, proper emulsification requires ingredients at room temperature and gradual incorporation of oils.
Finally, the balance of acid is where most recipes fail. This Gordon Ramsay Anchovy Dip uses a precise ratio of lemon juice and vinegar to brighten the rich anchovy base without overwhelming it. The acid not only enhances flavor but also helps maintain the emulsion’s stability, ensuring your dip stays perfect from first serving to last.
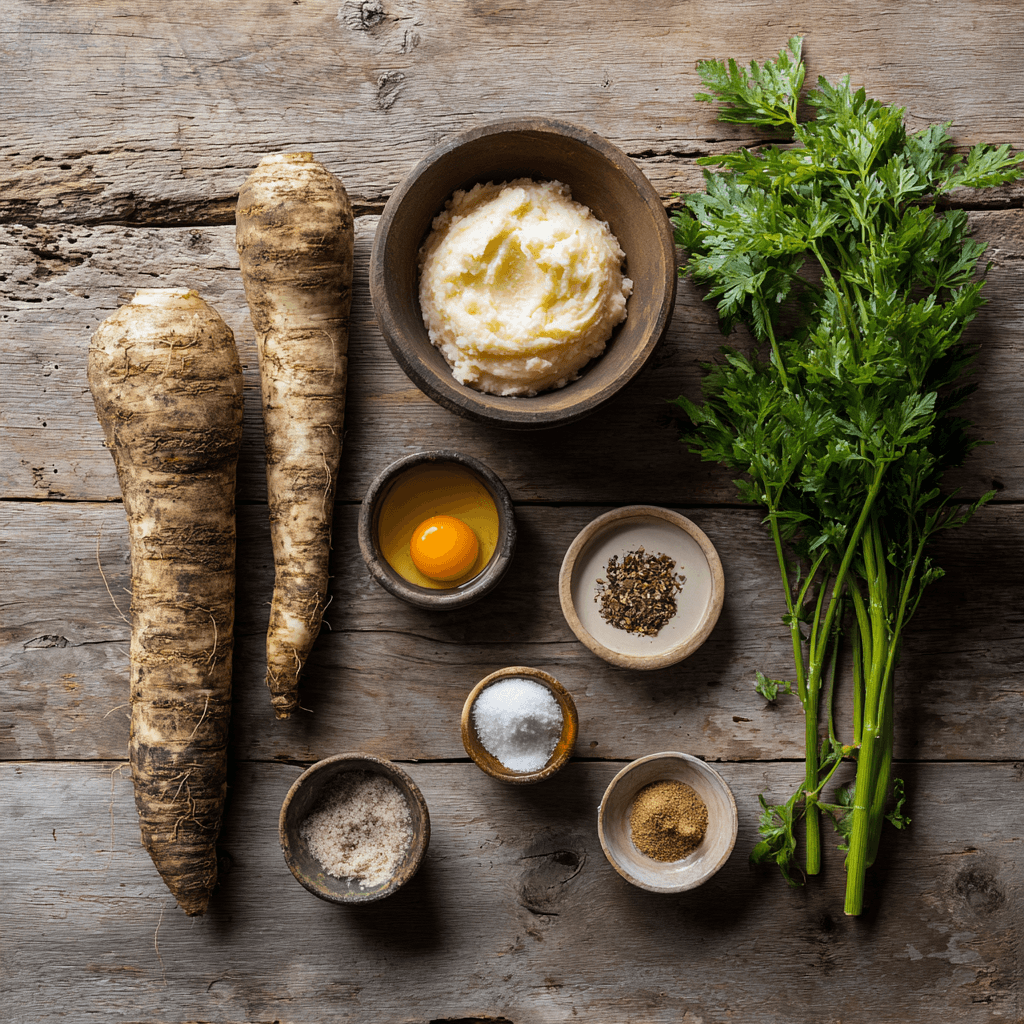
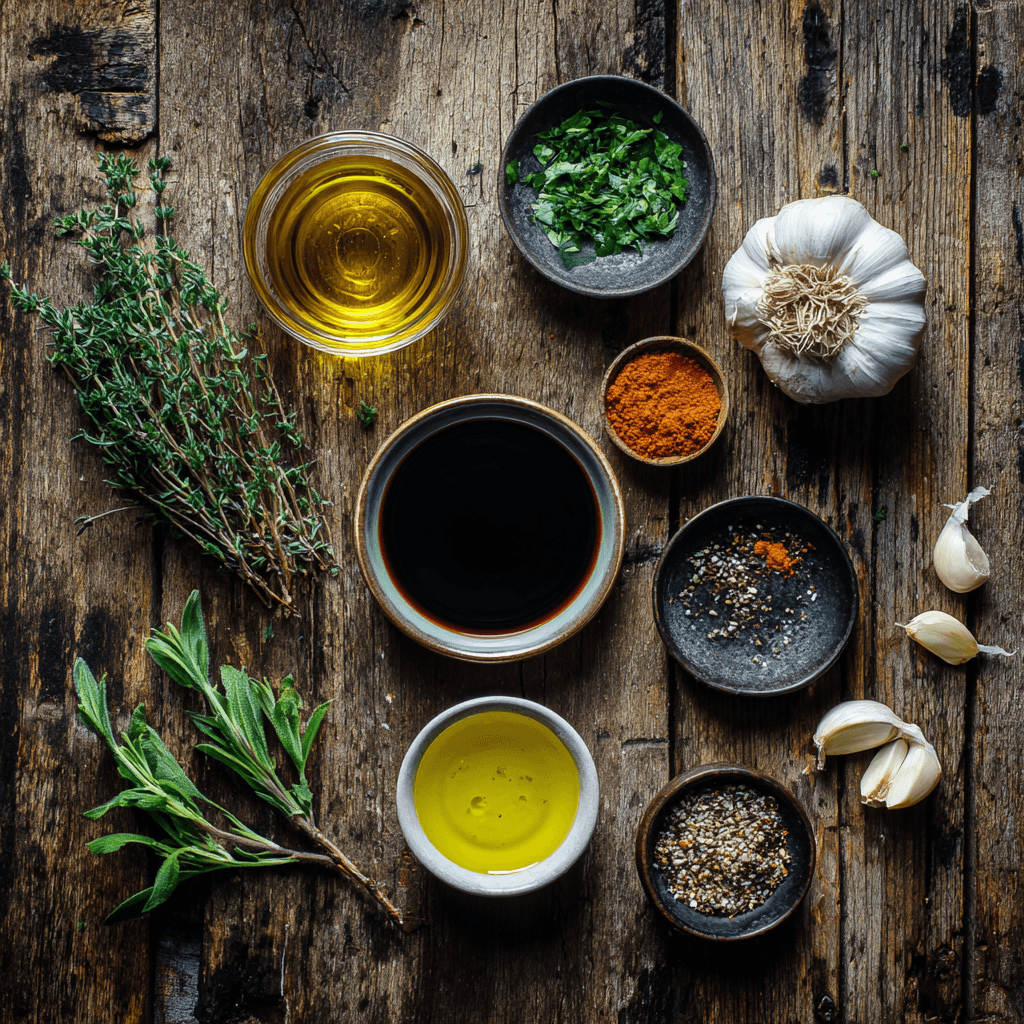
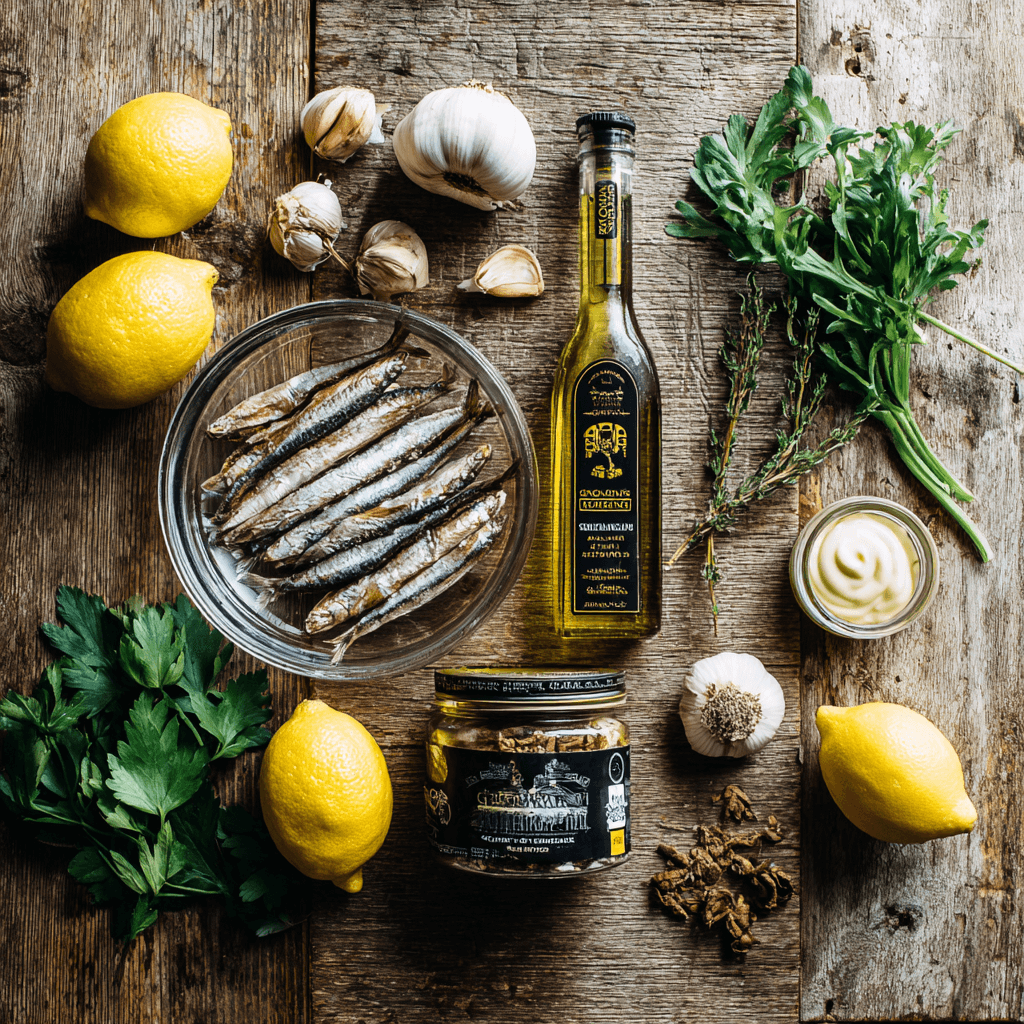
Ingredients That Actually Matter for Gordon Ramsay Anchovy Dip
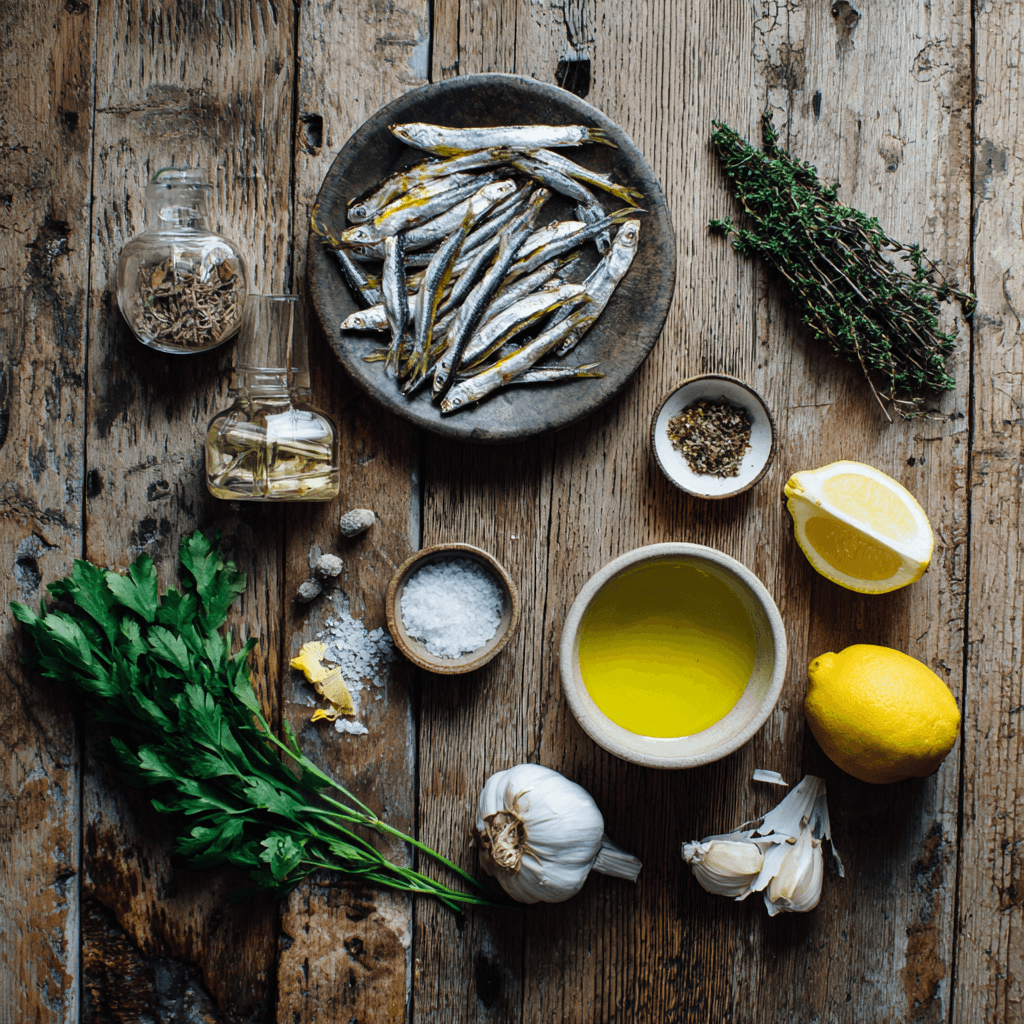
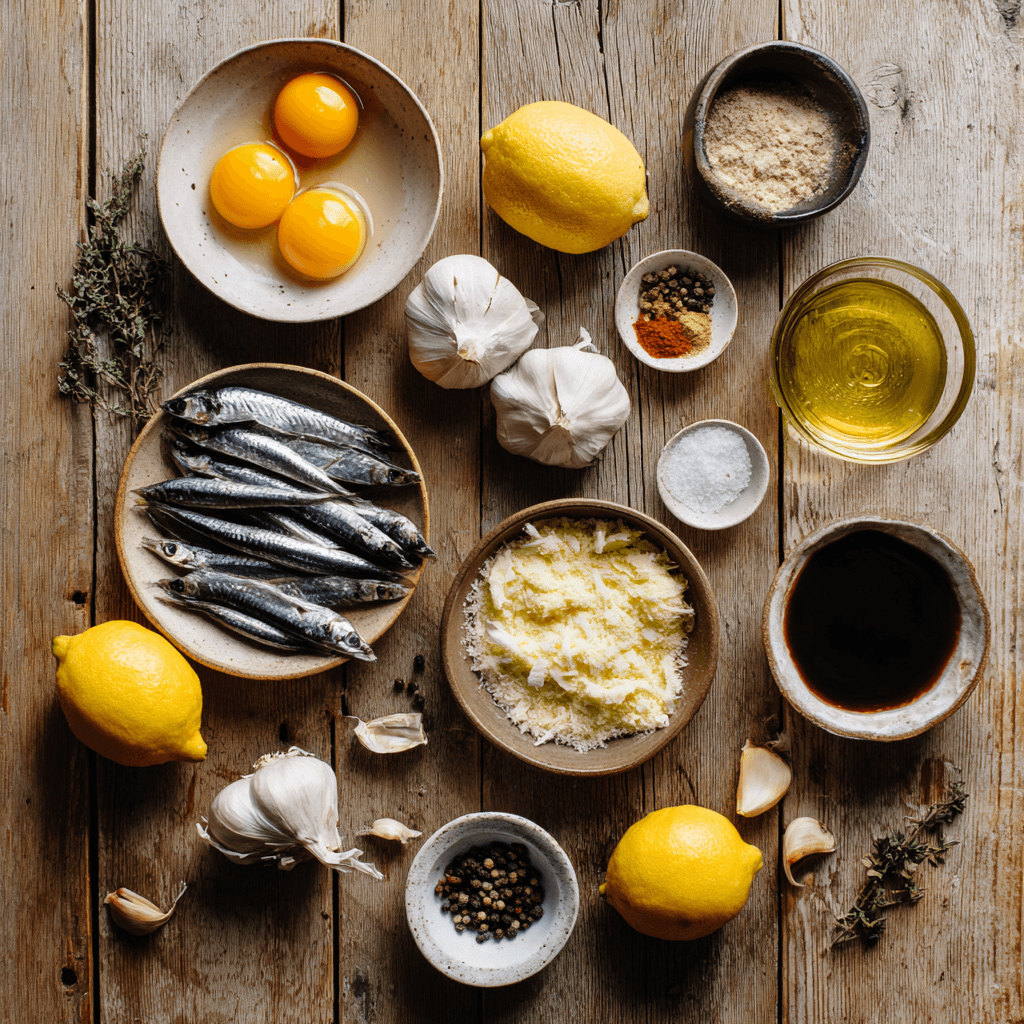
Quality anchovies make or break this Gordon Ramsay Anchovy Dip, and I can’t stress this enough after watching countless attempts fail due to poor ingredient choices. Look for anchovies packed in olive oil rather than salt—brands like Ortiz or Agostino Recca offer the clean, intense flavor you need without excessive saltiness. The anchovies should appear plump and intact, not mushy or overly broken down.
Fresh garlic is non-negotiable here. Pre-minced garlic from a jar lacks the pungent bite that balances the anchovy richness, while fresh cloves provide that sharp, clean flavor that cuts through the dip’s richness. When selecting garlic, choose firm bulbs with tight skin and avoid any with green shoots, which indicate age and bitterness.
The olive oil serves as both an emulsifier and flavor carrier, so invest in a high-quality extra virgin variety with a smooth, fruity profile. Avoid aggressive, peppery oils that compete with the anchovy flavor. For the acid component, fresh lemon juice is essential—bottled juice lacks the bright, clean acidity that makes this dip sing. If you’re interested in more ingredient-focused recipes, this approach mirrors the attention to quality found in other Gordon Ramsay specialty dishes.
Step-by-Step Instructions for Gordon Ramsay Anchovy Dip
Creating the Anchovy Base
Start by removing 8-10 high-quality anchovies from their oil and patting them completely dry with paper towels. Using the flat side of your knife, mash the anchovies against your cutting board, working them into a smooth paste. This technique, borrowed from professional kitchens, ensures even distribution throughout the dip. **Safety warning: Keep your knife blade angled away from your hands when mashing—the pressure required can cause slipping if you’re not careful.**
Building the Emulsion
In a food processor, combine the anchovy paste with 3 cloves of fresh garlic, pulsing until the mixture forms a smooth paste. With the processor running, slowly drizzle in 1/2 cup of high-quality olive oil—this gradual addition is crucial for proper emulsification. The mixture should become pale and creamy, similar to mayonnaise consistency. **Critical safety note: Never remove the food processor lid while the blade is spinning, even if it appears to have stopped.**
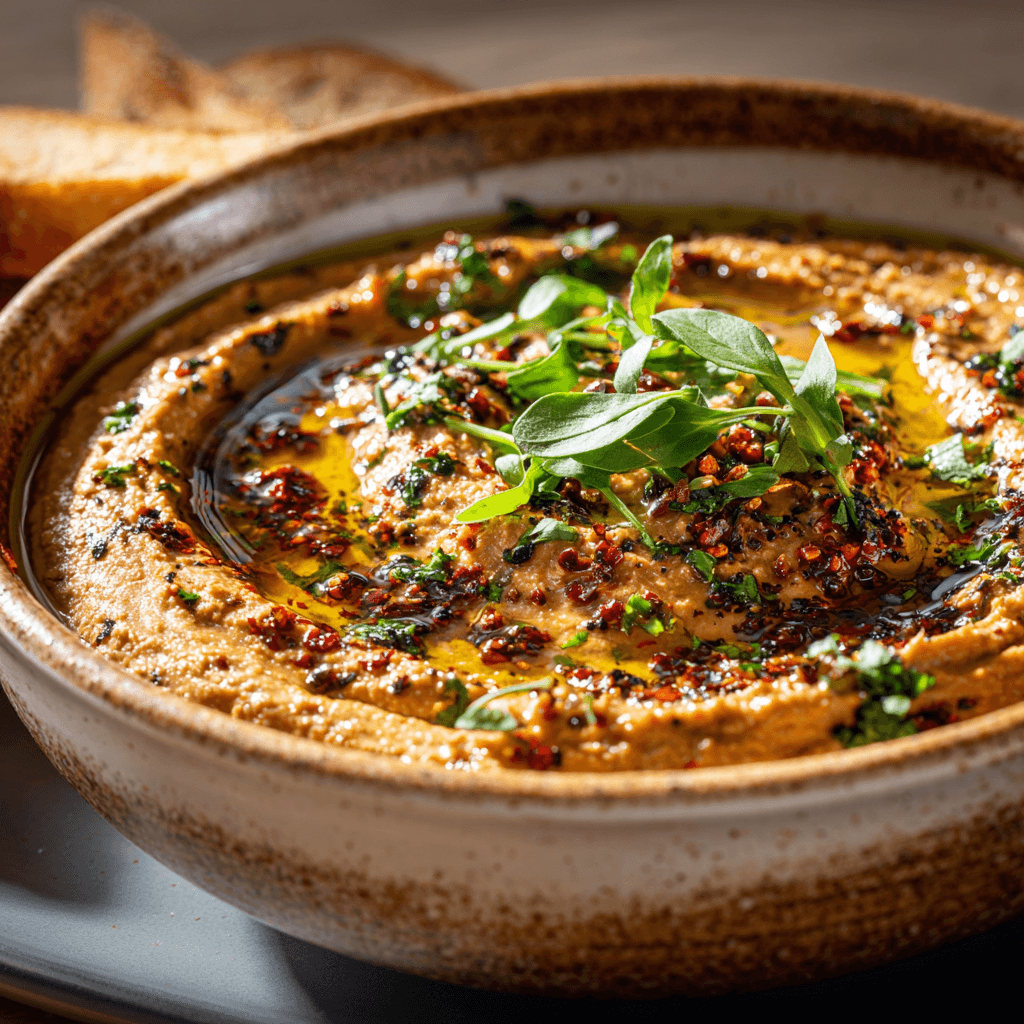
Add 2 tablespoons of fresh lemon juice, 1 tablespoon of white wine vinegar, and a pinch of freshly ground black pepper. Pulse briefly to incorporate these final elements. The completed Gordon Ramsay Anchovy Dip should be smooth, glossy, and hold its shape when spooned. If the mixture appears too thick, add olive oil one teaspoon at a time until you achieve the perfect consistency for dipping.
Final Adjustments and Quality Check
Taste your Gordon Ramsay Anchovy Dip and adjust seasoning as needed. The flavor should be intensely savory with a bright acidic finish—if it tastes flat, add more lemon juice; if it’s overwhelming, incorporate a bit more olive oil to mellow the intensity. Transfer the dip to a serving bowl and let it rest at room temperature for 15 minutes before serving, allowing the flavors to meld completely.
Pro-Tips That Change the Game
- Toast your garlic lightly in a dry pan before processing—this removes harsh bite while adding subtle sweetness that complements the anchovies beautifully
- Reserve a small amount of anchovy oil from the tin and drizzle it over the finished dip for an extra layer of flavor complexity
- Chill your food processor bowl for 10 minutes before starting—this helps maintain proper emulsification temperature throughout the process
- Add one egg yolk if your emulsion breaks—it acts as a natural stabilizer and will bring the mixture back together instantly
- Garnish with finely chopped fresh herbs like parsley or chives just before serving to add color and freshness that balances the rich anchovy flavor
- Serve the dip slightly below room temperature for optimal flavor release—too cold and the flavors become muted
Storage & Leftovers for Gordon Ramsay Anchovy Dip
Store your Gordon Ramsay Anchovy Dip in an airtight container in the refrigerator for up to one week, though it’s best consumed within 3-4 days for optimal flavor and texture. The high acid content and lack of dairy make this dip relatively stable, but proper storage is still crucial for food safety. Always use clean utensils when serving to prevent contamination.
When ready to serve leftover dip, remove it from refrigeration 20-30 minutes before serving to allow it to come to proper serving temperature. If the emulsion has separated slightly during storage, simply whisk it briefly or pulse it once in the food processor to restore its smooth consistency. According to FDA storage guidelines, anchovy-based preparations should never be left at room temperature for more than 2 hours to prevent bacterial growth.
Gordon Ramsay Anchovy Dip
Ingredients
Equipment
Method
- 1️⃣ Remove anchovies from oil and pat completely dry with paper towels. Using the flat side of your knife, mash anchovies against cutting board into a smooth paste. Keep knife blade angled away from hands.
- 2️⃣ In food processor, combine anchovy paste with garlic cloves. Pulse until mixture forms a smooth paste.
- 3️⃣ With processor running, slowly drizzle in olive oil for proper emulsification. Mixture should become pale and creamy like mayonnaise. Never remove lid while blade is spinning.
- 4️⃣ Add lemon juice, white wine vinegar, and black pepper. Pulse briefly to incorporate. If too thick, add olive oil one teaspoon at a time.
- 5️⃣ Taste and adjust seasoning. Transfer to serving bowl and let rest at room temperature for 15 minutes before serving to allow flavors to meld.
Nutrition
Notes
Tried this recipe?
Let us know how it was!Frequently Asked Questions About Gordon Ramsay Anchovy Dip
What is Gordon Ramsay’s most famous meal?
While Gordon Ramsay is renowned for his Beef Wellington, his anchovy-based preparations like this Gordon Ramsay Anchovy Dip showcase his mastery of Mediterranean flavors. Ramsay’s approach to anchovies—treating them as a flavor enhancer rather than a dominant ingredient—appears throughout his cuisine, from Caesar dressings to pasta sauces, demonstrating his understanding of umami balance.
How to make a Gordon Ramsay vinaigrette?
Gordon Ramsay’s vinaigrettes follow similar principles to his anchovy dip, emphasizing proper emulsification and acid balance. Start with quality olive oil, add acid gradually, and incorporate aromatics like garlic or shallots for depth. The key difference is using a 3:1 oil-to-acid ratio for vinaigrettes versus the richer ratio used in this Gordon Ramsay Anchovy Dip.
How do you make Gordon Ramsay’s caesar salad?
Ramsay’s Caesar salad actually shares several techniques with this anchovy dip recipe, particularly the anchovy paste preparation and emulsification method. His Caesar dressing incorporates egg yolks, Worcestershire sauce, and Parmesan, but the foundation remains that perfectly smooth anchovy paste we create in this Gordon Ramsay Anchovy Dip recipe.
Can I make this Gordon Ramsay Anchovy Dip without a food processor?
Absolutely, though it requires more effort. Mash the anchovies and garlic with a mortar and pestle or the flat side of your knife until completely smooth. Whisk in oil drop by drop initially, then in a thin stream once emulsification begins. The technique mirrors making mayonnaise by hand, requiring patience but delivering identical results.
This Gordon Ramsay Anchovy Dip will revolutionize how you think about this powerhouse ingredient, transforming skeptics into believers with every creamy, umami-rich bite. Take your time with the technique, trust the process, and you’ll create something truly restaurant-worthy.
Stay safe,
Jack Sullivan