Table of Contents
Gordon Ramsay Rhubarb Tart mastery starts with understanding one crucial truth: most home bakers sabotage their efforts before they even preheat the oven. After twenty years fighting fires and another decade perfecting pastry techniques, I’ve seen countless kitchen disasters that could’ve been prevented with proper preparation. This British classic dessert demands respect for its delicate balance of sweet custard and tart rhubarb, much like how we respected the unpredictable nature of flames back in my firefighting days. The FDA emphasizes proper produce handling, which becomes critical when working with rhubarb’s naturally high acidity. Master this Gordon Ramsay Rhubarb Tart technique, and you’ll have a showstopper dessert that rivals any high-end restaurant. Let me walk you through the professional approach that transforms simple ingredients into pastry perfection, just like Gordon Ramsay’s cheese biscuits elevated humble ingredients to restaurant quality.
Why This Gordon Ramsay Rhubarb Tart Recipe Works (And Where Most Go Wrong)
The Gordon Ramsay Rhubarb Tart succeeds because it addresses the three fundamental failures I see repeatedly in home kitchens. First, most bakers skip the blind baking step, resulting in a soggy bottom that would make any professional chef cringe. Second, they fail to pre-cook the rhubarb, leading to excess moisture that destroys the custard’s silky texture. Third, they ignore temperature control, treating pastry like it’s as forgiving as a campfire stew.
The Blind Baking Principle
Professional kitchens always blind bake tart shells because pastry needs direct heat contact to develop its characteristic flakiness. This technique creates a moisture barrier that prevents the filling from making your crust soggy. Serious Eats explains the science behind why this step can’t be skipped.
The Moisture Management System
Rhubarb contains approximately 95% water, which means you’re essentially working with flavored liquid. Pre-cooking removes excess moisture while concentrating the tart flavor that makes this Gordon Ramsay Rhubarb Tart so distinctive. Skip this step, and you’ll have rhubarb soup instead of an elegant tart.
The Temperature Control Protocol
Pastry demands precision like emergency response work. Too hot, and your butter melts before creating flaky layers. Too cool, and the gluten won’t develop properly. Professional bakers maintain ingredient temperatures within specific ranges because consistency creates perfection.
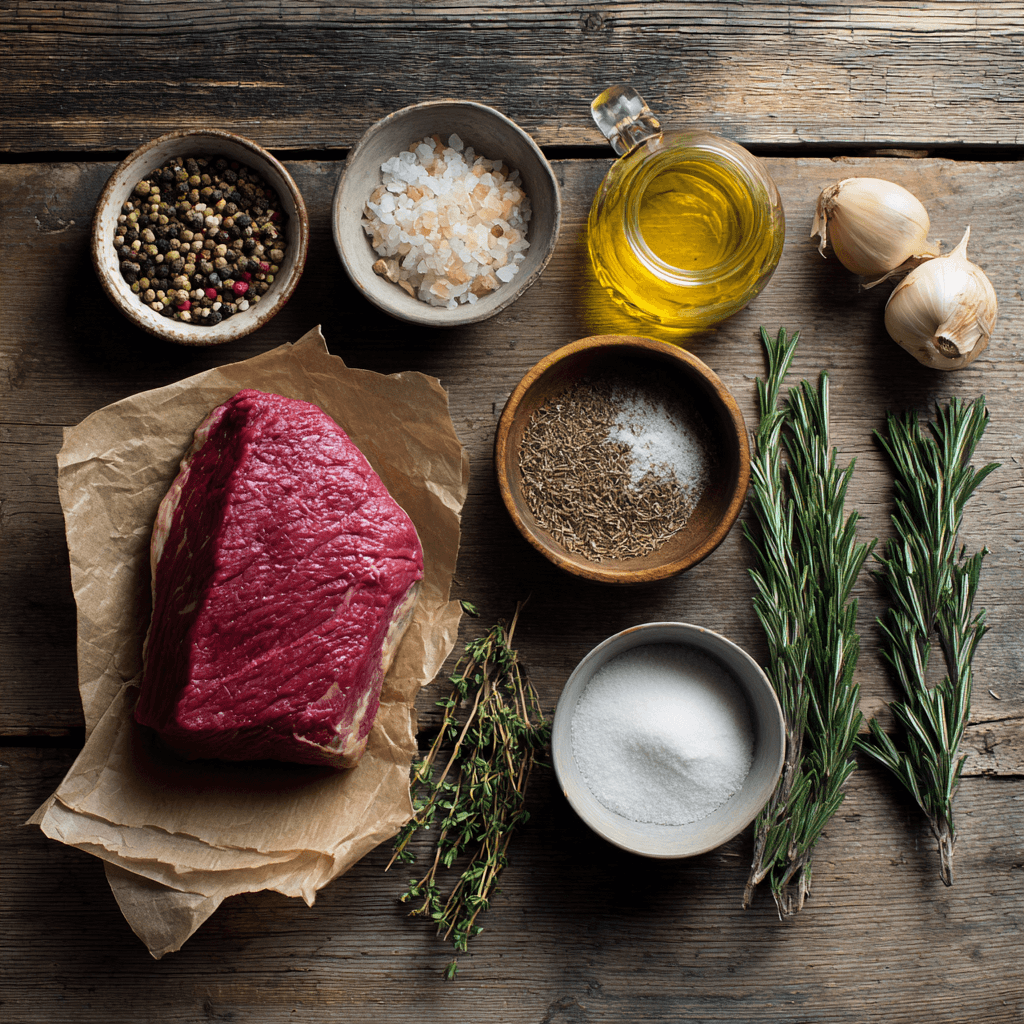
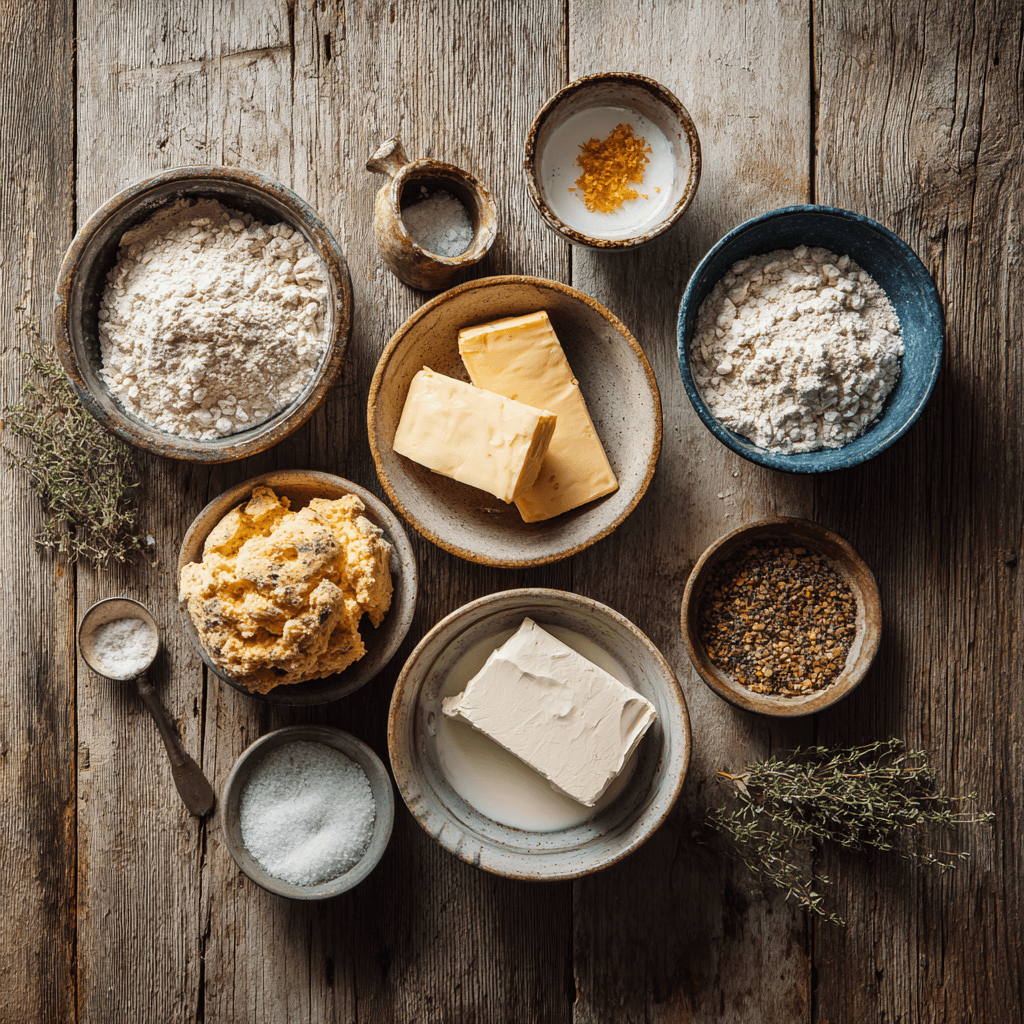
Ingredients That Actually Matter for Gordon Ramsay Rhubarb Tart
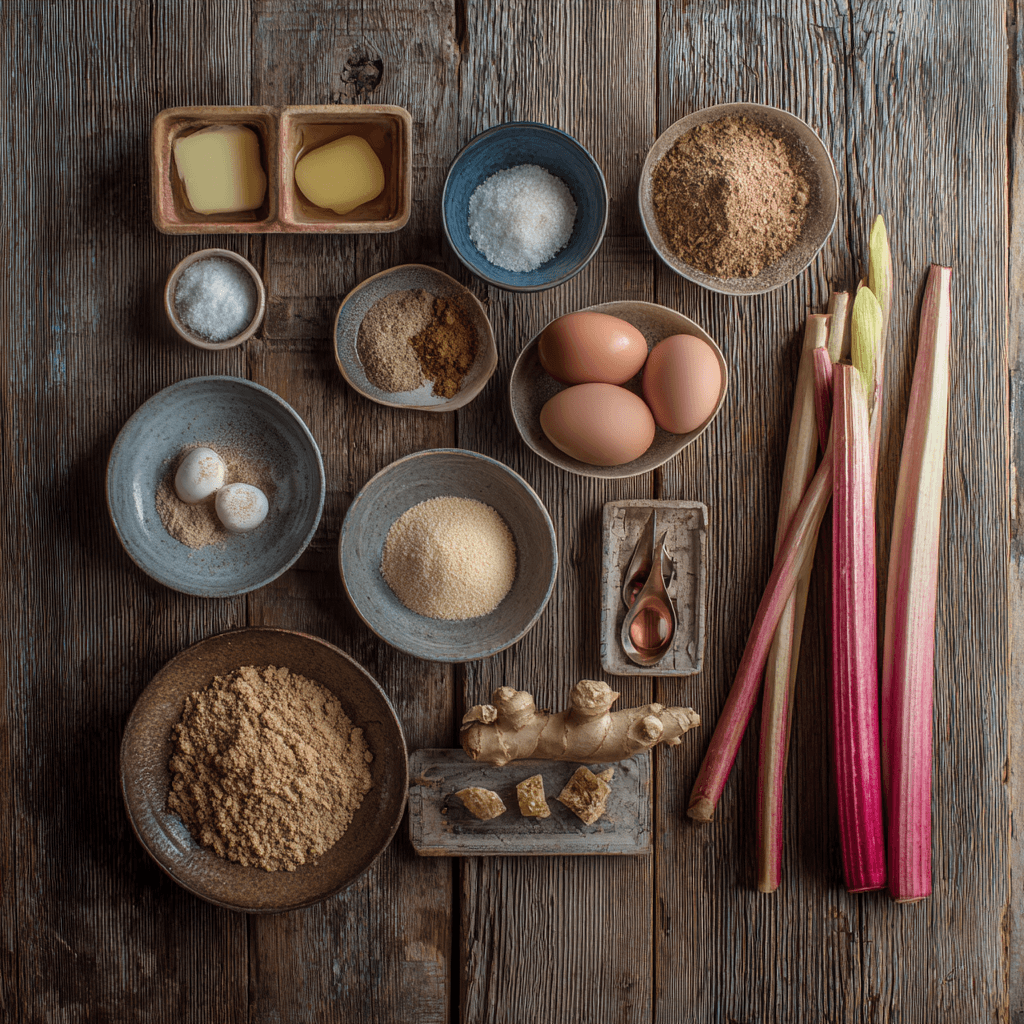
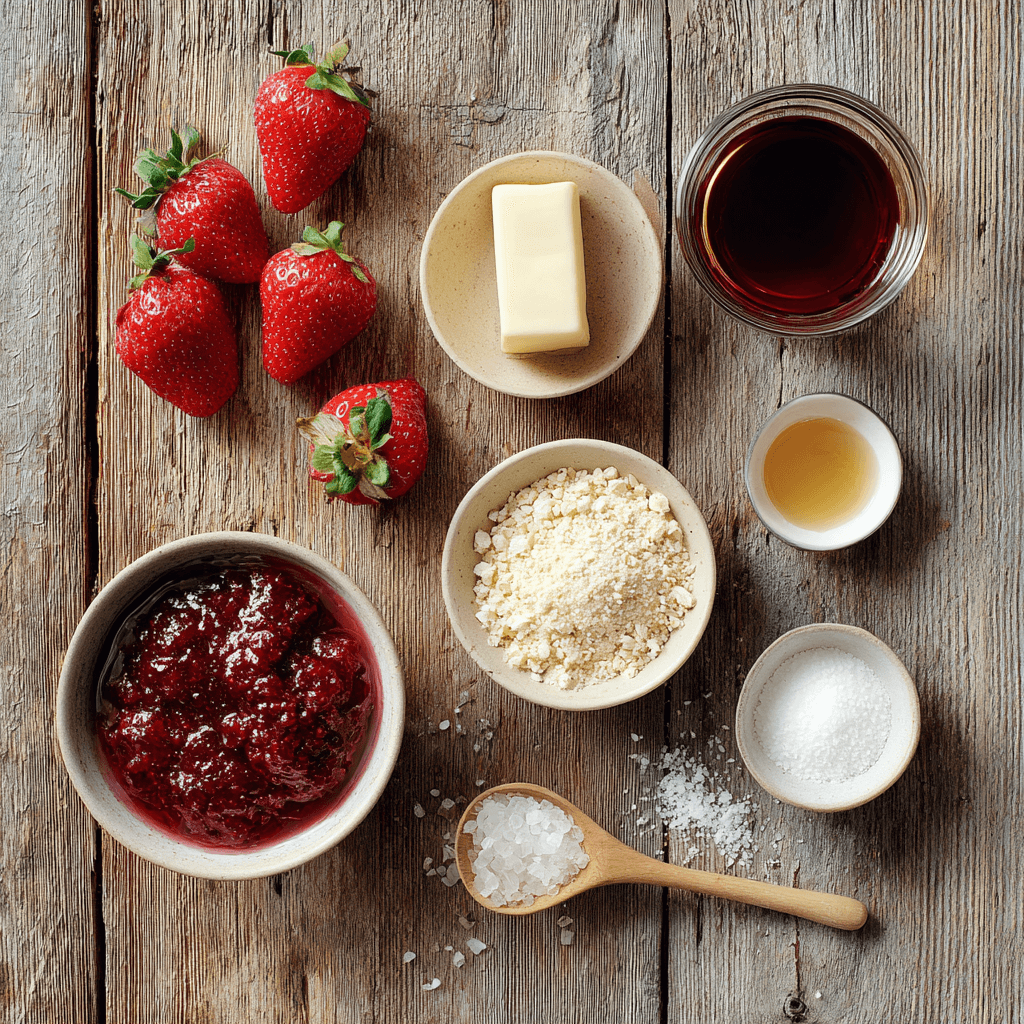
Every ingredient in this Gordon Ramsay Rhubarb Tart serves a specific structural purpose, much like how every piece of safety equipment had a role during my firefighting years. The pastry flour provides tenderness without toughness, while European-style butter contributes superior flavor and flakiness due to its higher fat content. Cold eggs create better emulsion in the custard base, and fresh rhubarb stalks should be firm with vibrant color—avoid anything that bends easily or shows brown spots.
Quality indicators make the difference between amateur and professional results. Choose rhubarb stalks that snap cleanly when bent, indicating high moisture content and fresh cellular structure. Your butter should be pale yellow and smell sweet, never rancid or overly white, which suggests processing shortcuts. Organic eggs provide richer yolks that create a more luxurious custard texture. For the pastry flour, seek brands with protein content between 8-10%, which provides enough structure without developing too much gluten.
Acceptable substitutions exist but come with trade-offs. All-purpose flour works if you reduce liquid by 10% to compensate for higher protein content. Regular butter substitutes for European-style if you add an extra tablespoon to account for lower fat percentage. However, never substitute frozen rhubarb for fresh in this Gordon Ramsay Rhubarb Tart—the cellular breakdown creates excessive moisture that compromises the final texture. Check out techniques from Gordon Ramsay’s other pastry methods for additional ingredient wisdom.
Step-by-Step Instructions for Gordon Ramsay Rhubarb Tart
Phase 1: Pastry Preparation
Cut 200g cold unsalted butter into small cubes and return to refrigerator. Combine 300g plain flour with pinch of salt in large mixing bowl. **Never use warm butter—this causes premature melting and destroys flaky texture that defines professional pastry.** Rub butter into flour using fingertips until mixture resembles coarse breadcrumbs. Add 2-3 tablespoons cold water gradually, mixing with knife until dough just comes together. **Stop mixing immediately when dough forms—overworking develops gluten and creates tough pastry.** Wrap in plastic film and refrigerate minimum 30 minutes.
Phase 2: Shell Construction and Blind Baking
Roll chilled pastry on floured surface to 3mm thickness, turning 90 degrees every few rolls to maintain even thickness. Line 23cm tart tin, pressing gently into corners without stretching. Trim excess, leaving 1cm overhang. Prick base all over with fork. **Place parchment paper over pastry and fill with baking beans—this prevents pastry from puffing during blind baking.** Refrigerate 20 minutes, then bake at 200°C for 15 minutes. Remove beans and paper, bake additional 10 minutes until light golden. This technique from King Arthur Baking ensures perfect results.
Phase 3: Rhubarb Preparation and Custard Assembly
Cut 500g fresh rhubarb into 2cm pieces. **Avoid cutting smaller pieces—they break down too much during cooking and create mushy texture.** Cook rhubarb with 50g sugar over medium heat for 5-7 minutes until just tender but still holding shape. Drain excess liquid thoroughly. For custard, whisk 3 large eggs with 100g caster sugar until pale. Add 200ml double cream and 1 teaspoon vanilla extract. **Test custard temperature before adding to pastry—mixture above 70°C will cook eggs prematurely and create scrambled texture instead of smooth custard.** Arrange drained rhubarb in pastry shell, pour custard over carefully.
Phase 4: Final Baking and Cooling Protocol
Reduce oven to 160°C and bake Gordon Ramsay Rhubarb Tart for 25-30 minutes until custard just sets with slight wobble in center. **Never overbake—custard continues cooking from residual heat after removal from oven.** Cool completely at room temperature before refrigerating. This prevents condensation from forming and affecting pastry crispness. Professional kitchens always cool tarts on wire racks to maintain air circulation underneath.
Pro-Tips That Change the Game
- Brush egg wash only on pastry edges before final baking—this creates professional golden finish without affecting custard texture
- Add pinch of ground ginger to rhubarb during cooking—enhances natural tartness and adds restaurant-quality depth of flavor
- Use ceramic baking beans instead of dried pulses—they conduct heat more evenly and prevent hot spots that cause uneven browning
- Test custard doneness by gently shaking tin—center should jiggle like set jelly, not liquid waves
- Score pastry edges with fork tines before baking—creates professional decorative pattern and prevents shrinkage
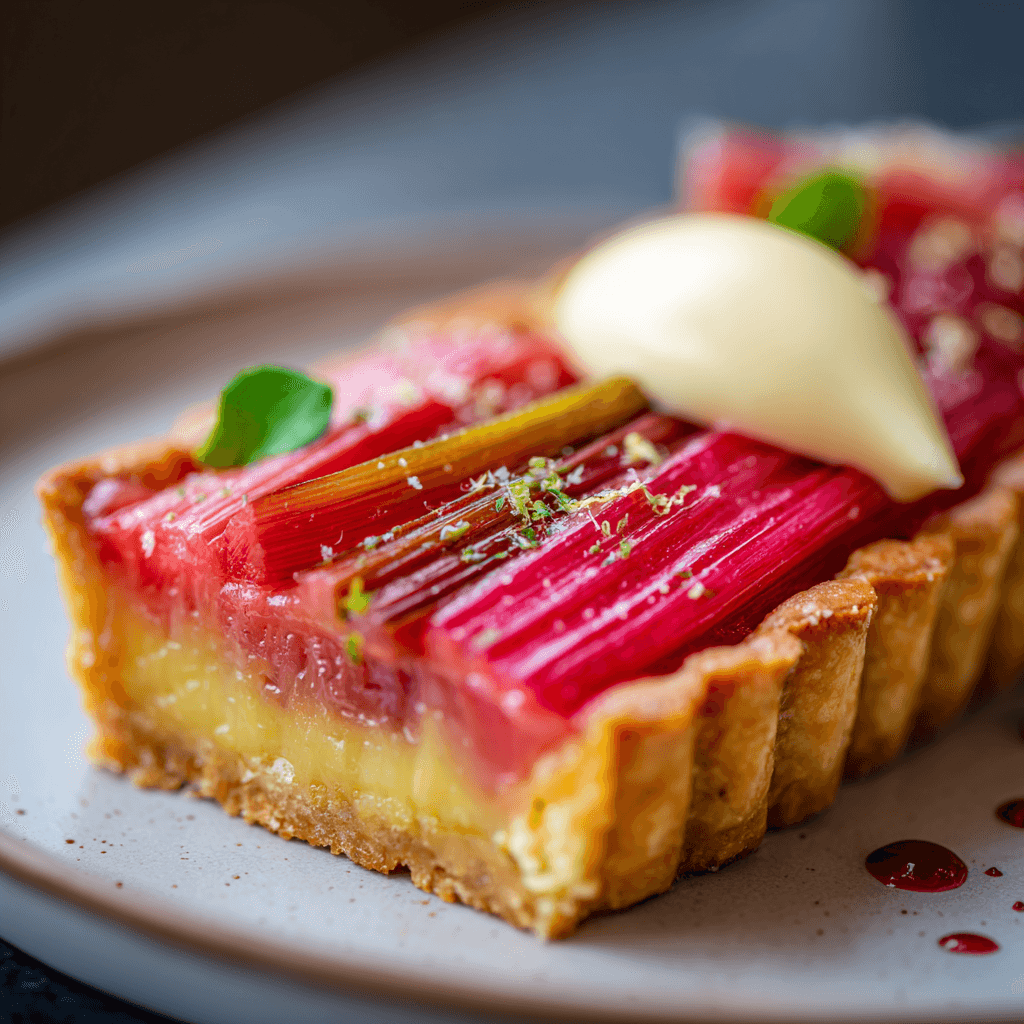
- Reserve some raw rhubarb pieces to arrange on top before baking—adds visual appeal and textural contrast to finished Gordon Ramsay Rhubarb Tart
Storage & Leftovers for Gordon Ramsay Rhubarb Tart
Store your Gordon Ramsay Rhubarb Tart covered in the refrigerator for up to 3 days, but consume within 48 hours for optimal pastry texture. Never leave at room temperature longer than 2 hours due to the dairy-based custard filling, which can harbor dangerous bacteria in warm conditions. **Cover tightly with plastic wrap or store in airtight container to prevent absorption of other refrigerator odors that compromise delicate flavors.**
For reheating, avoid the microwave which creates steam and soggy pastry. Instead, place individual slices in a 150°C oven for 5-7 minutes to restore crispness. The FDA recommends proper refrigeration within 2 hours of baking for food safety. Freeze whole tarts up to 1 month, though texture quality diminishes. Thaw overnight in refrigerator before serving at room temperature.
Gordon Ramsay Rhubarb Tart
Ingredients
Equipment
Method
- 1️⃣ Cut 200g cold unsalted butter into small cubes and return to refrigerator. Combine 300g plain flour with pinch of salt in large mixing bowl.
- 2️⃣ Rub butter into flour using fingertips until mixture resembles coarse breadcrumbs. Add 2-3 tablespoons cold water gradually, mixing with knife until dough just comes together.
- 3️⃣ Stop mixing immediately when dough forms. Wrap in plastic film and refrigerate minimum 30 minutes.
- 4️⃣ Roll chilled pastry on floured surface to 3mm thickness, turning 90 degrees every few rolls to maintain even thickness. Line 23cm tart tin, pressing gently into corners without stretching.
- 5️⃣ Trim excess pastry, leaving 1cm overhang. Prick base all over with fork. Place parchment paper over pastry and fill with baking beans.
- 6️⃣ Refrigerate 20 minutes, then bake at 200°C for 15 minutes. Remove beans and paper, bake additional 10 minutes until light golden.
- 7️⃣ Cut 500g fresh rhubarb into 2cm pieces. Cook rhubarb with 50g sugar over medium heat for 5-7 minutes until just tender but still holding shape. Drain excess liquid thoroughly.
- 8️⃣ For custard, whisk 3 large eggs with 100g caster sugar until pale. Add 200ml double cream and 1 teaspoon vanilla extract.
- 9️⃣ Arrange drained rhubarb in pastry shell, pour custard over carefully. Reduce oven to 160°C and bake for 25-30 minutes until custard just sets with slight wobble in center.
- 🔟 Cool completely at room temperature before refrigerating to prevent condensation from forming and affecting pastry crispness.
Nutrition
Notes
Tried this recipe?
Let us know how it was!Frequently Asked Questions About Gordon Ramsay Rhubarb Tart
How long does it take to bake a rhubarb tart?
The complete Gordon Ramsay Rhubarb Tart requires 40-45 minutes total baking time: 25 minutes for blind baking the pastry shell, followed by 25-30 minutes for the final bake with filling. Allow additional 2 hours cooling time before serving to ensure proper setting of the custard and prevent structural collapse when slicing.
Does Gordon Ramsay make desserts?
Absolutely—Gordon Ramsay trained extensively in pastry arts and frequently features dessert recipes in his restaurants and cooking shows. His approach to desserts mirrors his savory cooking philosophy: emphasis on technique, quality ingredients, and precise execution. This Gordon Ramsay Rhubarb Tart exemplifies his style of elevating traditional British desserts through professional methods.
How many calories are in a small slice of rhubarb tart?
A standard small slice (1/8 of full tart) of Gordon Ramsay Rhubarb Tart contains approximately 280-320 calories, primarily from butter in the pastry, cream in the custard, and natural sugars. The exact count varies based on portion size and ingredient brands, but the majority of calories come from the rich pastry base rather than the rhubarb filling.
Can I make the pastry ahead of time?
Yes, prepare pastry dough up to 2 days in advance and refrigerate, or freeze for up to 1 month. Blind-baked shells keep covered at room temperature for 24 hours, maintaining crispness better than refrigerated storage. This advance preparation actually improves final results by allowing gluten to relax and flavors to develop properly.
This Gordon Ramsay Rhubarb Tart represents the perfect marriage of technique and tradition, bringing professional pastry skills into your home kitchen. With proper preparation and respect for the process, you’ll create a dessert worthy of any special occasion.
Stay safe,
Jack Sullivan