Table of Contents
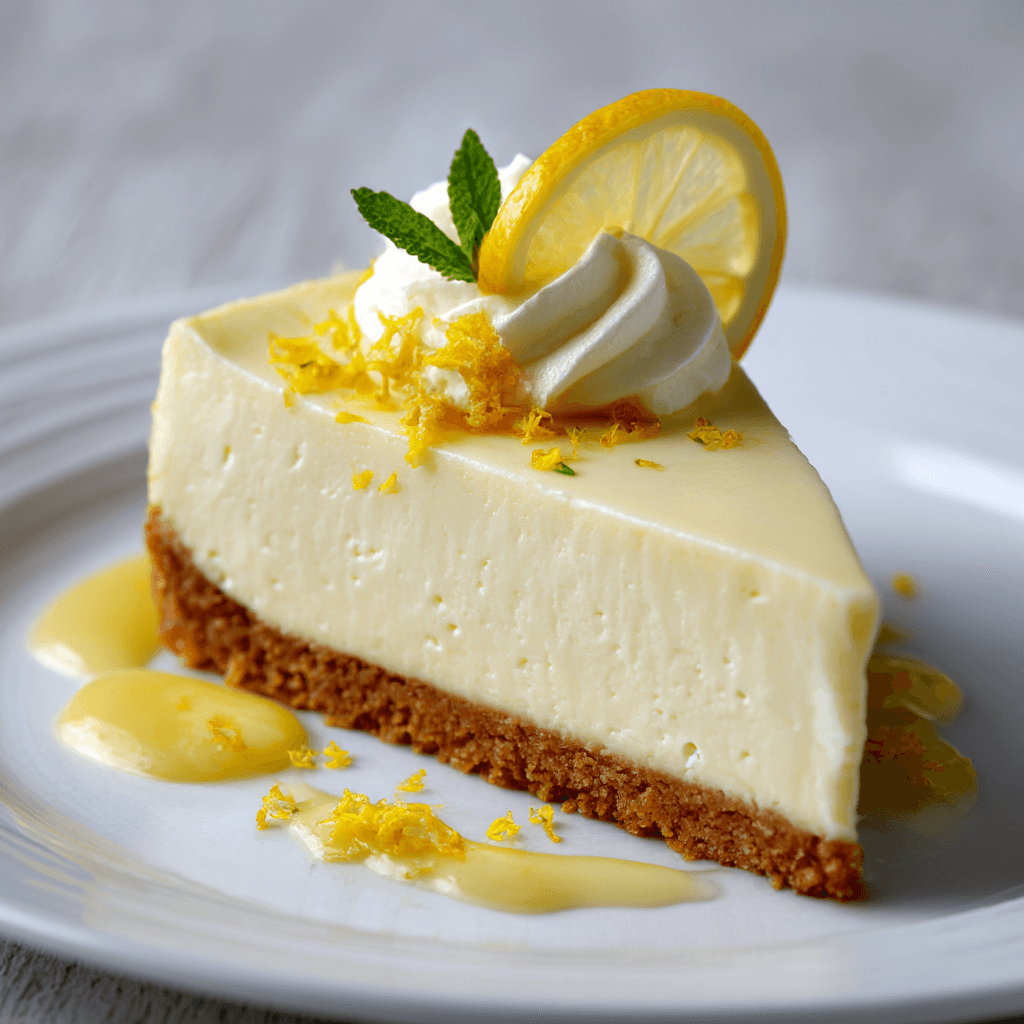
Gordon Ramsay Lemon Cheesecake transforms a simple dessert into something extraordinary, and I learned this the hard way during my early firefighting days when I volunteered to bring dessert to our annual station potluck. What started as a disaster—with a cracked, weeping mess that looked more like scrambled eggs than cheesecake—became my obsession with perfecting this temperamental dessert. The secret lies in understanding that cheesecake isn’t just mixing ingredients; it’s about precise temperature control, proper technique, and patience. According to the FDA’s food safety guidelines, dairy-based desserts require careful handling to prevent foodborne illness, making technique even more critical. Once you master Ramsay’s approach, you’ll create a dessert that rivals any high-end restaurant, much like perfecting our Gordon Ramsay lemon meringue cheesecake recipe.
Why This Gordon Ramsay Lemon Cheesecake Recipe Works (And Where Most Go Wrong)
The brilliance of Gordon Ramsay Lemon Cheesecake lies in three fundamental principles that most home cooks overlook. First, temperature control prevents the proteins in cream cheese from seizing up, which creates that dreaded grainy texture. Ramsay insists on room temperature ingredients because cold cream cheese creates lumps that never fully incorporate, no matter how long you mix.
The Water Bath Principle
Second, the water bath (bain-marie) creates gentle, even heat that prevents cracking. When cheesecake bakes in direct oven heat, the edges cook faster than the center, causing stress fractures. The water bath maintains consistent temperature throughout, just like how we use controlled burns in firefighting to prevent dangerous flare-ups.
The Cooling Process
Third, gradual cooling prevents thermal shock. Most people rush this step, opening the oven door and creating temperature swings that guarantee cracks. According to Serious Eats’ cheesecake science, the proteins continue setting during the cooling phase, making patience essential for success.
Ingredients That Actually Matter for Gordon Ramsay Lemon Cheesecake
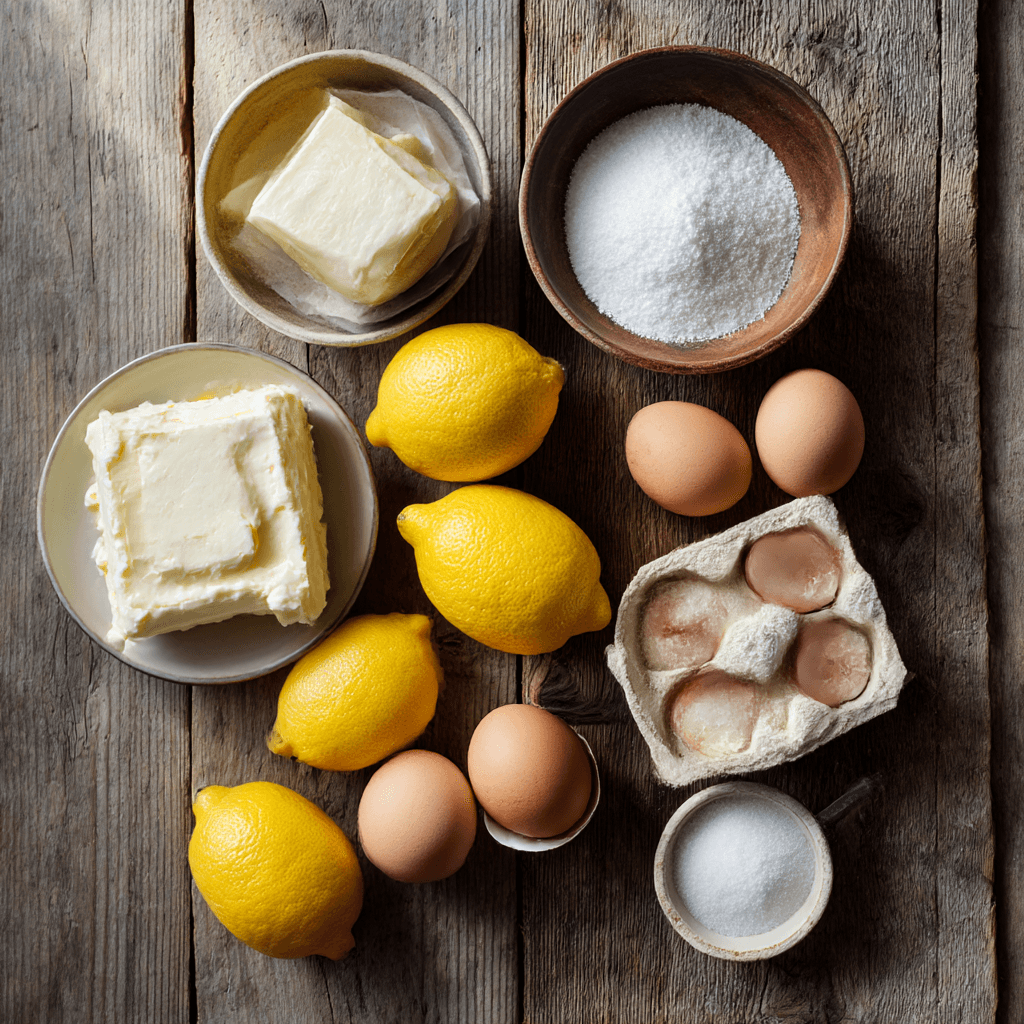
Quality ingredients make the difference between amateur and professional results in Gordon Ramsay Lemon Cheesecake. Full-fat cream cheese is non-negotiable—reduced-fat versions contain stabilizers that prevent proper binding and create a rubbery texture. Look for cream cheese with only milk, cream, salt, and cultures listed on the label.
Fresh lemon juice and zest provide the bright acidity that balances the rich cheese. Bottled lemon juice lacks the essential oils found in fresh citrus, which contribute complexity and natural sweetness. When selecting lemons, choose heavy fruits with thin, bright yellow skin—they contain more juice and aromatic oils.
Room temperature eggs incorporate smoothly without overmixing, which develops gluten and creates a tough texture. Cold eggs require excessive beating to combine, introducing too much air that later escapes and causes cracks. Graham crackers for the crust should be crisp—stale crackers create a soggy base that won’t support the filling. If you’re exploring other citrus desserts, our Gordon Ramsay sticky toffee pudding offers another elegant finish to any meal.
Step-by-Step Instructions for Gordon Ramsay Lemon Cheesecake
Preparing the Crust
Preheat your oven to 350°F and wrap the outside of a 9-inch springform pan with heavy-duty aluminum foil. This prevents water from seeping into the pan during the water bath. Combine 1½ cups graham cracker crumbs, ¼ cup sugar, and 6 tablespoons melted butter until the mixture holds together when squeezed. Press firmly into the bottom of the prepared pan, using a flat-bottomed measuring cup for even distribution.
Creating the Filling
**Never rush the mixing process—lumpy cream cheese will ruin your Gordon Ramsay Lemon Cheesecake.** Beat 32 ounces room-temperature cream cheese on medium speed until completely smooth, about 3 minutes. Scrape the bowl frequently to ensure even mixing. Gradually add 1 cup sugar, beating until incorporated. Add 4 room-temperature eggs one at a time, mixing just until combined after each addition.
Fold in ½ cup sour cream, ¼ cup fresh lemon juice, 2 tablespoons lemon zest, and 1 teaspoon vanilla extract. **Stop mixing as soon as ingredients are combined—overbeating incorporates air that causes cracking.** The filling should be smooth and pale yellow without streaks.
Baking with Water Bath
Pour the filling over the crust and smooth the top with an offset spatula. Place the wrapped pan in a large roasting pan and add hot water halfway up the sides of the springform pan. **Ensure the foil creates a watertight seal to prevent soggy crust.** Bake for 55-60 minutes until the center is almost set but still slightly jiggly. The technique mirrors our Gordon Ramsay signature dishes approach of gentle, controlled cooking.
Critical Cooling Phase
**Do not open the oven door during baking or cooling—temperature fluctuations cause cracks.** Turn off the oven and crack the door slightly, allowing the cheesecake to cool gradually for 1 hour. Remove from water bath and cool completely at room temperature before refrigerating for at least 4 hours, preferably overnight.
Pro-Tips That Change the Game
- Run a thin knife around the edges immediately after removing from oven to prevent cracking as the cheesecake contracts during cooling
- Place a shallow pan of water on the oven’s bottom rack to maintain humidity and prevent surface cracking
- Test doneness by gently shaking the pan—the center should jiggle like set Jell-O, not liquid
- Use parchment paper strips under the springform ring for easy removal without damaging the sides
- Chill your mixing bowl and beaters for 15 minutes before whipping any cream garnishes to ensure proper consistency
- Strain the filling before pouring to remove any remaining lumps from cream cheese or lemon zest
Storage & Leftovers for Gordon Ramsay Lemon Cheesecake
Store Gordon Ramsay Lemon Cheesecake covered in the refrigerator for up to 5 days. Cover the surface directly with plastic wrap to prevent absorption of refrigerator odors, then wrap the entire pan for extra protection. The flavors actually improve after 24 hours as the lemon mellows and melds with the cream cheese.
For longer storage, freeze individual slices wrapped tightly in plastic wrap and aluminum foil for up to 3 months. Thaw overnight in the refrigerator before serving—never at room temperature, which can compromise texture and food safety. According to FDA storage guidelines, dairy-based desserts require consistent refrigeration to prevent bacterial growth.
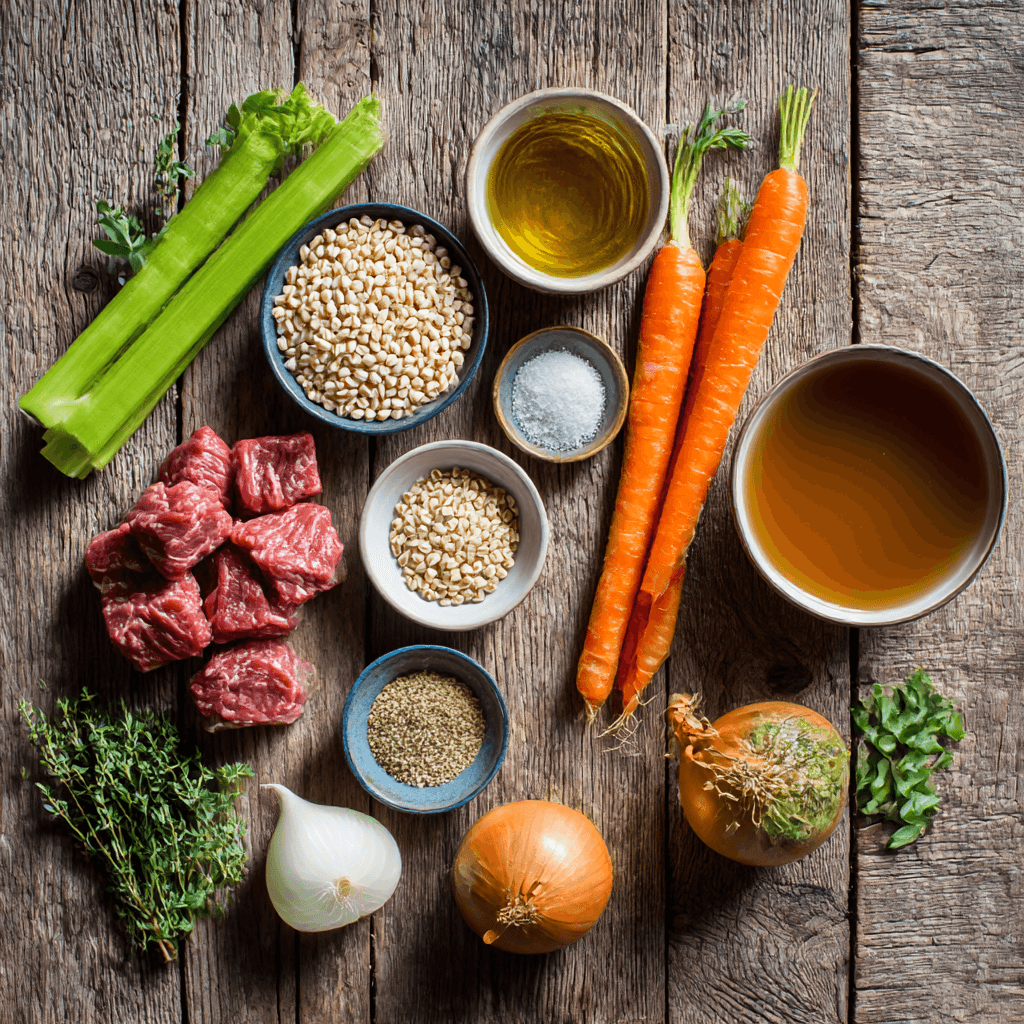
Gordon Ramsay Beef Barley Soup
Ingredients
Equipment
Method
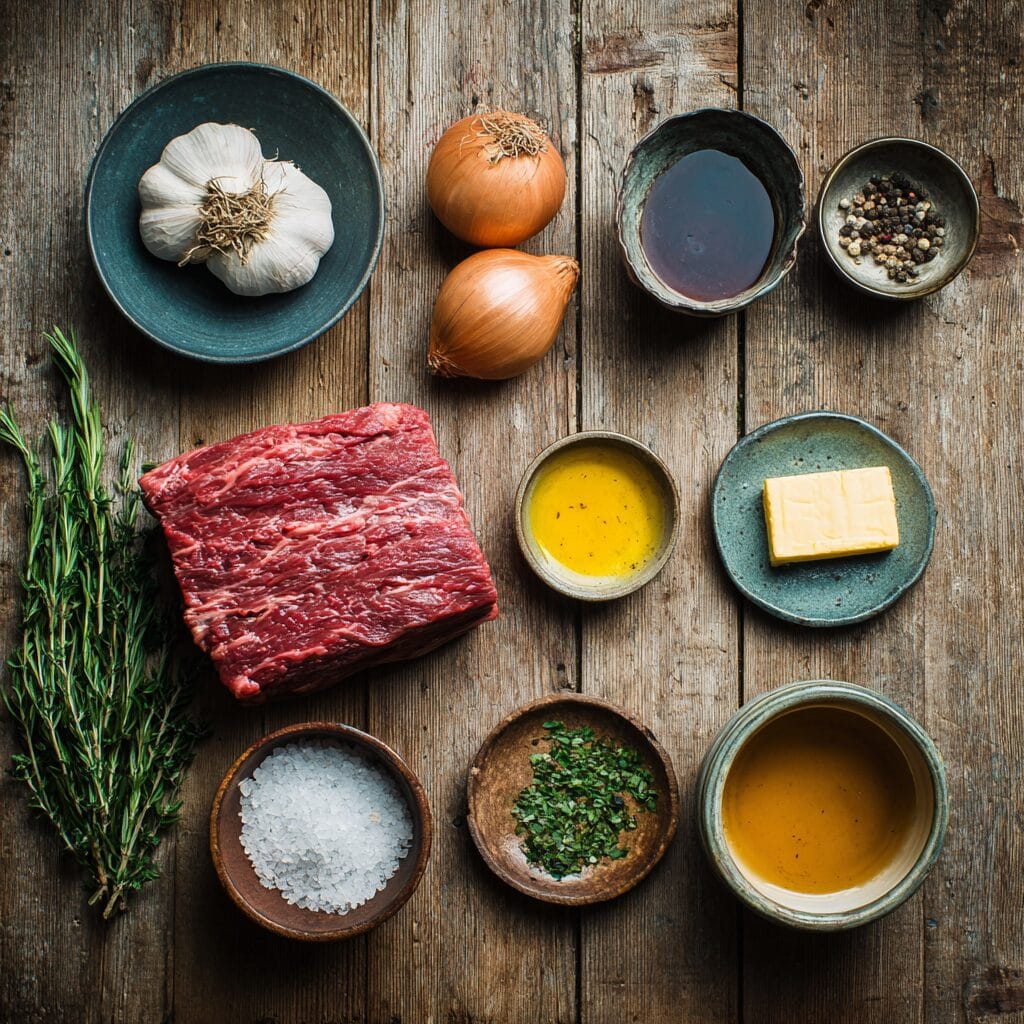
- 1️⃣ Cut 2 pounds of chuck roast into 1-inch cubes, removing excess fat but leaving some for flavor. Pat each piece completely dry with paper towels and season generously with salt and pepper 15 minutes before cooking.
- 2️⃣ Heat 2 tablespoons of neutral oil in a heavy Dutch oven over medium-high heat until it shimmers. Brown beef in batches to avoid overcrowding, taking 3-4 minutes per side to develop a deep, caramelized crust. Remove and set aside.
- 3️⃣ In the same pot with the browned bits, add diced onion, chopped carrots, and chopped celery. Cook for 5-6 minutes until vegetables soften and onions become translucent.
- 4️⃣ Add minced garlic and cook for 30 seconds until fragrant, watching carefully to prevent burning. Pour in red wine to deglaze, scraping up all the fond with a wooden spoon.
- 5️⃣ Return browned beef to the pot along with beef stock, bay leaves, and fresh thyme leaves. Bring to a boil, then reduce heat to maintain a gentle simmer. Cover and cook for 1 hour until beef begins to tender.
- 6️⃣ Add pearl barley and continue simmering for another 45-60 minutes until both beef and barley are tender.
- 7️⃣ Remove bay leaves and taste for seasoning, adjusting with salt and freshly ground black pepper. Stir in fresh chopped parsley and let rest for 5 minutes before serving.
Nutrition
Notes
Tried this recipe?
Let us know how it was!Frequently Asked Questions About Gordon Ramsay Lemon Cheesecake
What ingredients do I need for Gordon Ramsay cheesecake?
Essential ingredients include 32 ounces full-fat cream cheese, 4 room-temperature eggs, 1 cup sugar, ½ cup sour cream, fresh lemon juice and zest, vanilla extract, and graham crackers for the crust. Quality matters—use fresh lemons and avoid low-fat substitutes that compromise texture and flavor in your Gordon Ramsay Lemon Cheesecake.
What are common no-bake cheesecake mistakes?
The biggest mistakes include using cold ingredients that won’t incorporate smoothly, overmixing which creates air bubbles, skipping the water bath that prevents cracking, and rushing the cooling process. Many also use insufficient gelatin in no-bake versions, resulting in a filling that won’t set properly despite refrigeration time.
Why is my lemon cheesecake not setting?
Setting issues typically stem from insufficient baking time, too much liquid from lemon juice overwhelming the protein structure, or temperature fluctuations during cooling. For Gordon Ramsay Lemon Cheesecake, ensure the center reaches 150°F internally and maintain steady cooling temperatures. Overbaking paradoxically also prevents proper setting by causing proteins to seize.
What is the purpose of lemon in cheesecake?
Lemon serves multiple purposes: the acid brightens the rich cream cheese and prevents cloying sweetness, the citrus oils add aromatic complexity, and the natural pectin helps with setting. The acidity also balances the fat content, creating a more refined flavor profile that cleanses the palate rather than coating it.
Can I make Gordon Ramsay Lemon Cheesecake ahead of time?
Absolutely—this dessert actually improves with time. Make it 1-2 days before serving to allow flavors to meld and the texture to fully develop. The lemon becomes more integrated and the overall taste more balanced. Store covered in the refrigerator and add any garnishes just before serving.
How do I prevent cracks in my cheesecake?
Prevent cracks by using room-temperature ingredients, avoiding overmixing, baking in a water bath for gentle heat, and cooling gradually without temperature shocks. Run a knife around the edges immediately after baking to allow for contraction. Similar to our Gordon Ramsay apple pie, patience during the cooling process is essential for professional results.
Mastering Gordon Ramsay Lemon Cheesecake requires patience and attention to detail, but the results justify every careful step. Trust the process, respect the cooling time, and you’ll create a dessert that impresses every single time.
Stay safe,
Jack Sullivan